Small damage in vinyl siding can often be fixed without redoing the whole wall. Hairline cracks can usually be sealed with colour matched exterior caulk. When you’re wondering how to repair a hole in vinyl siding, you’ll typically cut and glue a patch from matching siding or replace the full panel if the hole is large. For long cracks, melted sections, or damage near windows, doors, or decks, full panel replacement or a visit from a pro is the safest move.
Contents
- TL;DR
- Before you repair: when DIY makes sense
- Tools and materials you’ll need
- How to repair a crack in vinyl siding (step by step)
- How to repair a hole in vinyl siding
- How to replace a damaged vinyl siding panel
- Colour matching and Metro Vancouver weather tips
- Common vinyl siding repair mistakes
- When to call a professional in North Vancouver
TL;DR
- Small cracks and tiny holes can often be sealed neatly with exterior caulk.
- Medium holes are best handled with a hidden patch made from matching siding.
- Larger damage, warping, or issues near windows and doors usually call for a full panel swap.
- Good colour matching and respect for how vinyl “floats” on the wall keep repairs almost invisible.
- When in doubt about water getting behind the siding, having a pro check it is money well spent.
Before you repair: when DIY makes sense
A stray hockey puck, a rock from the lawn mower, a BBQ that sat too close to the wall these are the calls we get all the time. The good news: most isolated damage on vinyl siding can be repaired without touching the rest of the house.
DIY repair usually makes sense when:
- The crack or hole is easy to reach from the ground or a short ladder.
- The damaged area is roughly smaller than a credit card.
- There are no signs of water stains, soft sheathing, or mould on the inside wall.
- You’re comfortable with a utility knife, caulk gun, and basic hand tools.
If the siding is buckled, sections are missing, or damage runs under windows, along decks, or near roof lines, it’s safer to have a pro assess it. That’s where a small project company like Microworks Handyman fits in. We handle exactly these kinds of exterior repairs.
Tools and materials you’ll need
Here’s a basic kit most Metro Vancouver homeowners can put together for siding repairs:
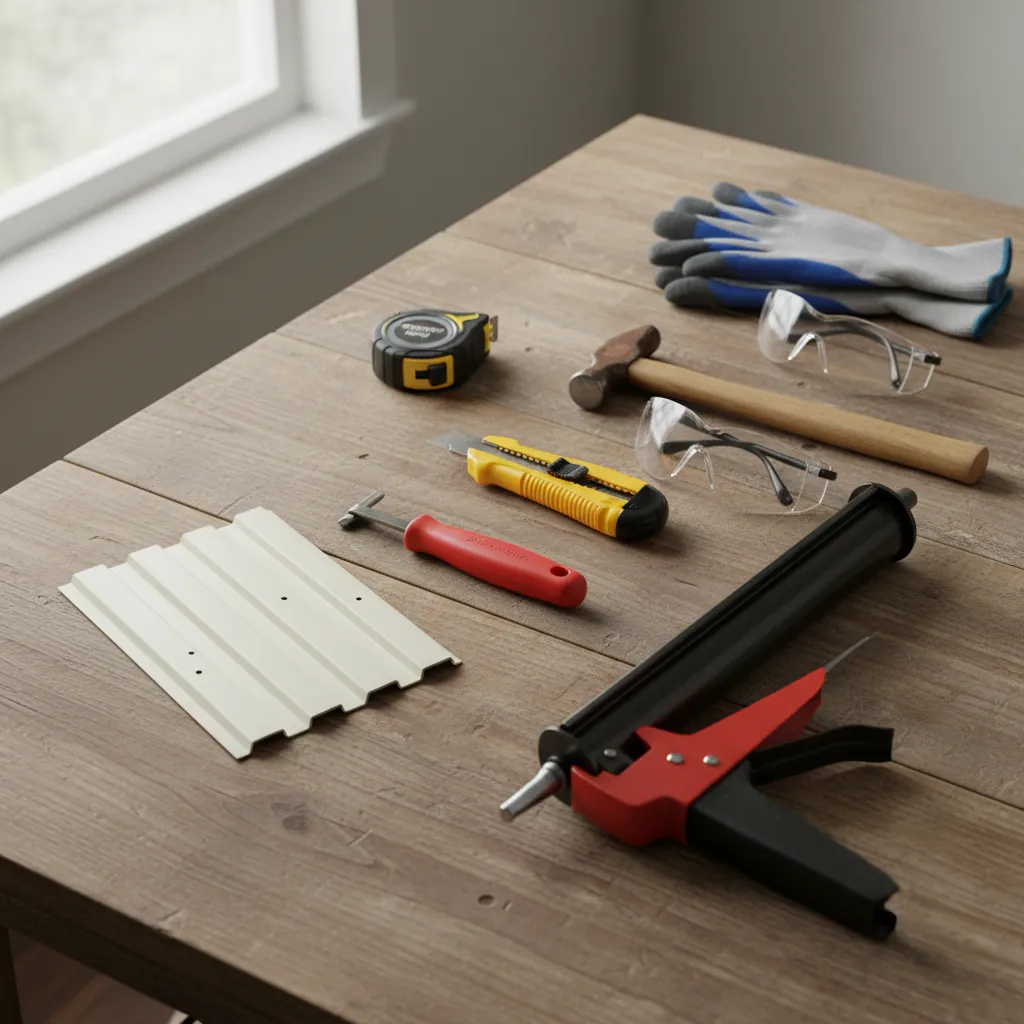
Typical tools and materials used for small vinyl siding repairs.
Hand tools
- Siding zip tool (unlocks and locks vinyl panels)
- Utility knife with sharp blades
- Tape measure and pencil
- Hammer or siding nailer (for panel replacement)
- Caulking gun
- Putty knife or plastic spreader
Materials
- Matching vinyl siding (off cuts, a spare piece, or a new length)
- Exterior grade caulk, paintable and UV resistant
- Siding repair patch (optional, often sold at building centres)
- Galvanized roofing/siding nails with wide heads
- Exterior cleaner and rags
Safety gear
- Safety glasses
- Cut resistant gloves
- Stable ladder (respect fall protection rules)
For more background on how vinyl is meant to be installed and “float” on the wall, the Vinyl Siding Institute has helpful homeowner resources.
How to repair a crack in vinyl siding (step by step)
Hairline damage is common on south and west facing walls in North Vancouver, Burnaby, and Coquitlam where UV and temperature swings stress the panels. If you’re wondering how to repair a crack in vinyl siding without redoing the wall, start here.
Applying exterior caulk to seal a small crack in vinyl siding.
Step 1: Inspect the crack
- Measure the length. Under 2–3 cm (about an inch) is usually cosmetic.
- Press gently around the crack. If the panel flexes but the wall behind feels solid, that’s a good sign.
- If you see dark staining, softness, or the crack runs into a corner trim or window flashing, treat it as a bigger repair or call a pro.
Step 2: Clean and dry the area
- Wash the area with mild soap and water to clear dirt and mildew.
- Rinse well and let it dry completely so caulk can bond properly.
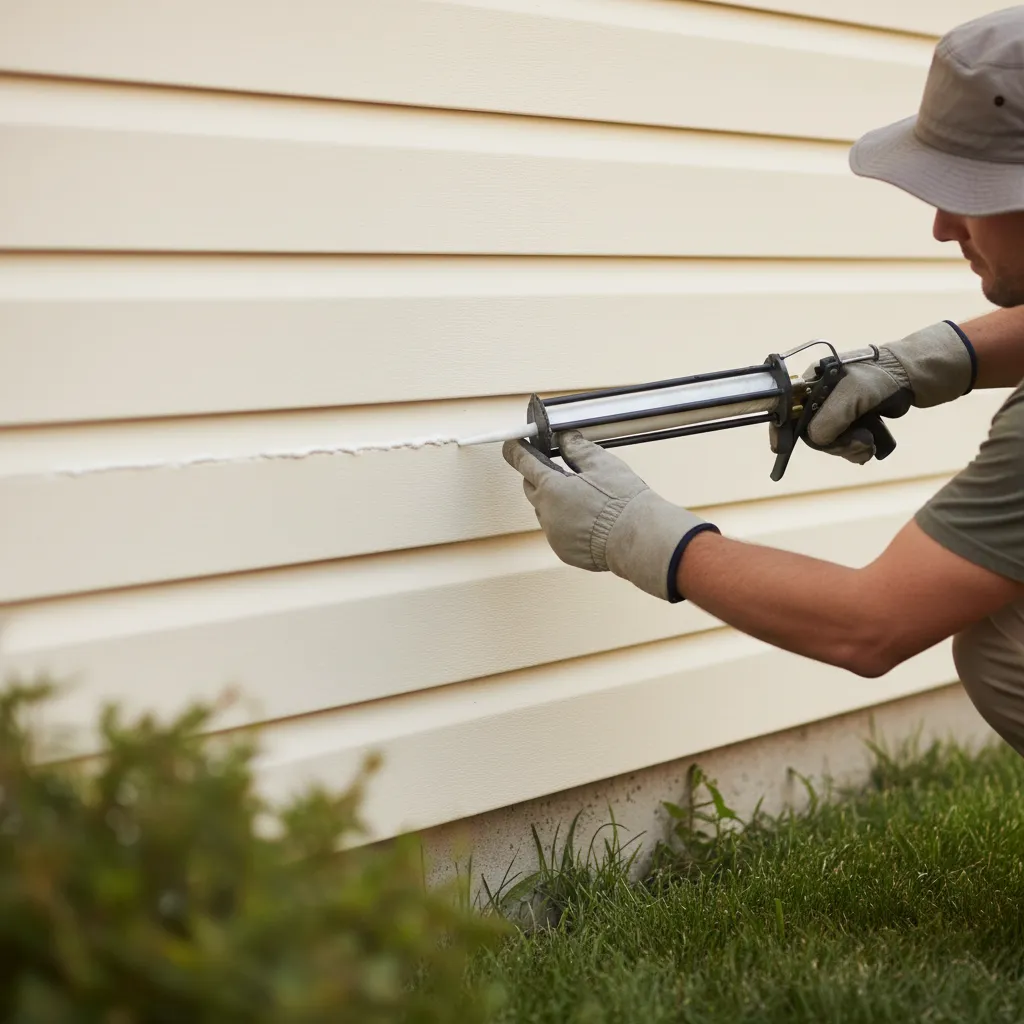
Step 3: Fill small cracks with exterior caulk
- Cut the caulk tube tip small so you can control the bead.
- Run a thin bead directly along the crack, pushing it slightly into the opening.
- Use a damp finger or plastic spreader to smooth the line and blend it with the panel profile.
- Wipe off extra caulk before it skins over.
For hairline cracks, this seals out wind driven rain and looks tidy once cured. If you ever repaint the siding, use caulk labelled as paintable and suitable for vinyl.
Step 4: Decide if the panel should be replaced instead
Caulking is fine for tiny cracks. Once they get longer than a few inches or show up near nail slots or corners, the better repair is usually a full panel replacement (see the section below on replacing a damaged siding panel).
Not sure which way to go? Snap a couple of photos and send them along with your address when you request an estimate. Our team can often give an opinion based on pictures.
How to repair a hole in vinyl siding
Holes usually come from impact hail, stones, sports, or someone moving a BBQ too close to the wall. The approach depends on how big the damage is and where it sits on the panel.
Step 1: Size up the hole
- Smaller than a dime: Often can be filled with colour matched exterior caulk.
- Dime to credit card size: Ideal for a hidden patch from scrap siding.
- Bigger than a credit card, or multiple holes: Plan on replacing the panel.
Step 2: For tiny holes, use caulk
For very small punctures in the flat face of the panel:
- Clean and dry the area.
- Inject a small amount of exterior caulk into the hole.
- Smooth it flush with the siding profile.
Step 3: Patch a medium hole with scrap siding
This method keeps the original panel in place while hiding the damage behind a snug patch.
- Cut a piece from matching siding that is at least 2–3 cm larger than the hole on all sides.
- Trim off the nailing hem and lower lock on the patch so it’s flat.
- Round the patch corners with your knife to reduce stress points.
- Lightly scuff the back of the patch and the area behind the hole with fine sandpaper.
- Apply siding safe construction adhesive according to the manufacturer’s instructions.
- Slide the patch behind the damaged section so it lines up with the panel’s “grain.”
- Press firmly and hold until the adhesive grabs, then support as directed on the adhesive label.
You can find general guidance on adhesives that play nicely with vinyl through major manufacturers such as Kaycan or similar brands sold in the Lower Mainland.
If the hole sits right at a joint, trim, or corner post, patches tend to look messy and can channel water the wrong way. In those cases, a panel swap is the cleaner solution.
How to replace a damaged vinyl siding panel
Full panel replacement sounds intimidating, but once you understand how vinyl locks together, it’s very doable for a careful homeowner working at ground level.
Step 1: Unlock the siding above
- Hook your siding zip tool under the bottom edge of the panel above the damaged one.
- Pull the tool down and slide it along the length to unclip the lock.
- Gently lift that loosened course so you can reach the nails on the damaged panel.
Step 2: Remove the damaged panel
- Pull or pry out the nails along the top nailing hem of the damaged piece.
- Slide the panel sideways to free it from the course beside it, then down and out.
Step 3: Cut the new panel to length
- Measure the old panel or the gap from corner to corner.
- Score the new siding with a utility knife and snap it cleanly.
- Recreate any factory notches that hook into J channels or corner posts.
Step 4: Install the new panel
- Hook the bottom of the new piece into the lock of the course below.
- Nail through the centre of each slot, leaving roughly a credit‑card thickness between the nail head and the hem so the siding can move.
- Keep nails straight and level; do not nail tight.
- Relock the course above using the zip tool, snapping it firmly into the top of the new panel.
If you’re already having us tackle other touch ups like drywall repairs or sticking doors we can typically bundle small siding panel swaps into the same visit.
Colour matching and Metro Vancouver weather tips
One of the trickiest parts of vinyl repair in older North Shore homes is colour. Even if you know the manufacturer, UV exposure and our wet winters change the shade over time.
- Bring a loose piece or a cut off to the store for the best chance at a match.
- If the exact colour no longer exists, choose something slightly lighter; darker patches tend to stand out more.
- Try to work on dry days above about 5–10 °C so panels stay flexible and sealants cure properly.
- Skip sealing every joint with caulk vinyl is designed to shed water and breathe. Over sealing can trap moisture behind the cladding.
Common vinyl siding repair mistakes
- Nailing panels too tight. Vinyl needs room to expand and contract. Tight nailing leads to buckling and noise.
- Using interior caulk outdoors. Indoor latex caulk breaks down fast in our rain and UV; always use exterior rated products.
- Patching structural damage. If sheathing behind the siding is soft or rotten, panel repair alone won’t solve the problem.
- Working off unstable ladders. A wobbly ladder on a sloped North Vancouver driveway is an ER trip waiting to happen.
- Guessing at window and door details. Flashing around openings is what keeps water out of your walls. If damage touches these areas, get a qualified person to look.
If you’re seeing any of these issues, a quick site visit from a local handyman is usually cheaper than fixing a second round of damage later.
When to call a professional in North Vancouver
We’re all for homeowners tackling straightforward projects. At the same time, there are moments when bringing in help protects both your home from repairs and your weekend.
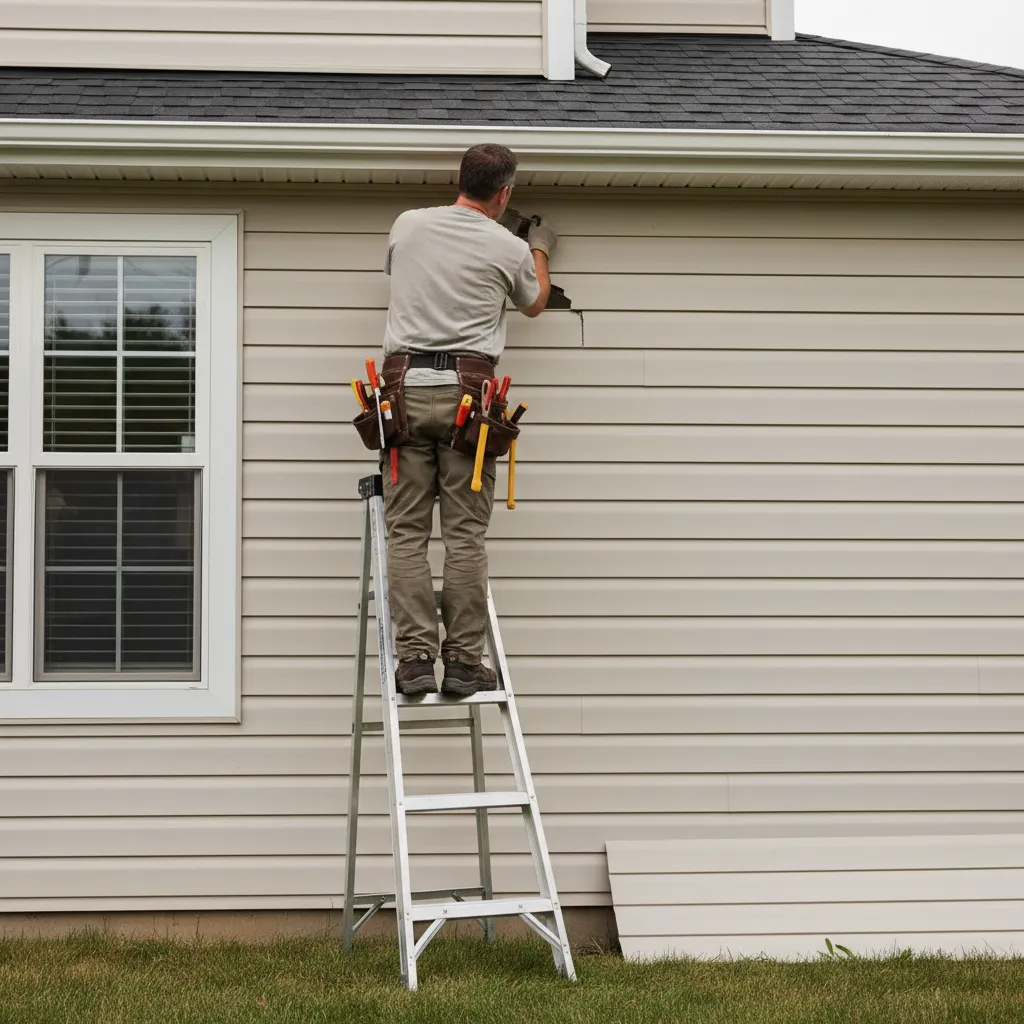
A professional handyman replacing a damaged vinyl siding panel on an upper storey.
Reach out to Microworks Handyman if:
- The damage is high up on a second or third storey.
- You see cracked siding near decks, roof lines, or where water drains.
- There are multiple damaged spots across one wall.
- You don’t have spare siding and need help tracking down a good match.
- You’d like a full exterior “health check” along with the repair.
Because we focus on small to mid sized projects, a typical visit might combine siding work with other exterior repairs, trim touch ups, rot fixes, hardware swaps so your list shrinks in one go.
If you’re in North Vancouver, West Vancouver, Vancouver, Burnaby, Coquitlam, or nearby, you can get an estimate online in a few minutes. Share a couple of photos of the cracked or punctured area, and our Red Seal led team will let you know whether a quick repair or panel replacement makes the most sense.