If you have a room that looks a bit unfinished, fresh baseboards can change the whole space. Many North Vancouver homeowners watch a few videos, search how to install baseboards, then stare at wavy walls and odd corners wondering if it’s a quick Saturday job or a two week saga.
As Red Seal carpenters on the North Shore, we’ve seen where DIY baseboard installs go smoothly and where they stall. This guide covers tools, layout, cutting, fastening (with and without a nail gun), rubber baseboards, how long the work usually takes, and when it pays to bring in a handyman crew instead.
Contents
TL;DR:
- Measure your room in linear feet and add 10–15% for waste.
- Pre‑paint or pre‑finish baseboards before they go on the wall if you can.
- Use a miter saw for corners and cope inside joints so gaps stay tight over time.
- Fasten into studs or plate with 15–18 gauge finish nails or construction adhesive.
- No nail gun? Pre‑drill and use finish nails with a hammer and nail set.
- For rubber baseboards, use the manufacturer’s adhesive and a hand roller.
- Caulk the top edge, fill nail holes, then do a final light paint touch up.
What you need for a clean baseboard install
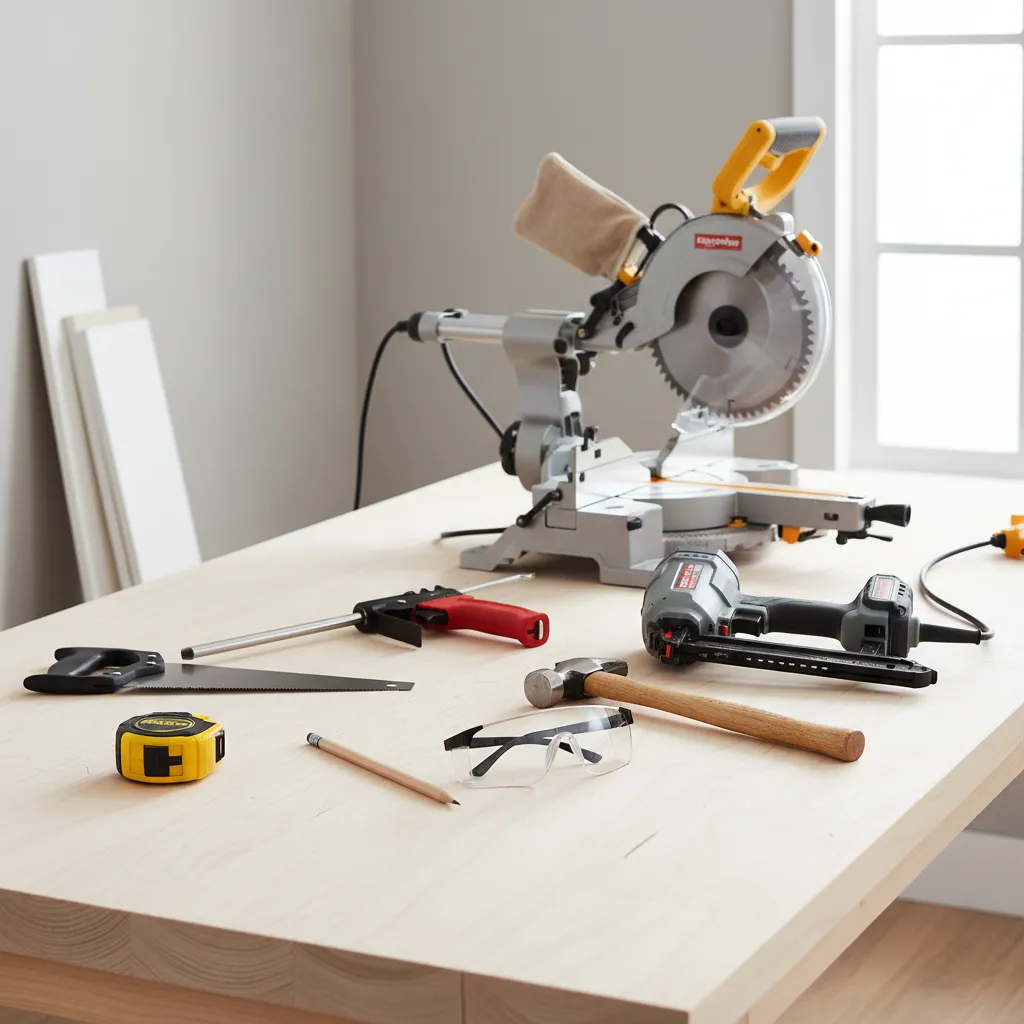
Gather your baseboard tools and materials before you start so each step goes smoothly.
Tools
- Tape measure and pencil
- Miter saw (sliding is nicest for wider profiles)
- Coping saw (for inside corners)
- Caulking gun
- Finish nailer (15–18 gauge) and compressor, or cordless finish nailer
- Hammer, nail set, and drill for hand‑nailing
- Stud finder or small nail for probing studs
- Utility knife and block plane or sanding block
- Safety glasses and hearing protection
Materials
- Baseboards (MDF or wood for most homes; rubber/vinyl for basements and commercial spaces)
- Appropriate finish nails (usually 2″ to 2 ½”)
- Construction adhesive (for wavy walls or when hitting studs is tough)
- Painter’s caulk for the top edge and small gaps
- Wood filler or spackling compound for nail holes
- Primer and paint, or stain and clear coat
Not sure which profile to pick? Home centres like Home Depot Canada have comparison charts showing heights and styles to help you match existing trim.
If you’d rather have a Red Seal carpenter bring the tools and trim, our interior trim services cover supply, installation, and touch ups in one visit.
For a deeper, pro level look at baseboard installation techniques, this detailed guide from Fine Homebuilding walks through advanced coping, splicing, and layout details that pair well with the steps below.
Step by step: installing wood or MDF baseboards
Step 1: Measure the room and plan joints
Measure each wall and add up the total linear footage. Add 10–15% for waste from off cuts and miter joints. On long walls, plan your joints so they land over a stud and away from doorways where they catch the eye less.
We call this the P‑C‑C‑C baseboard rhythm: Plan your joints, Cut, Check the fit, then Caulk and finish.
Step 2: Mark studs and pre‑finish when possible
Use a stud finder or small nail to mark studs with light pencil lines just above where the top of the baseboard will land so nailing is fast and reliable later.
If you’re painting, pre‑prime and apply the first coat while the boards are on sawhorses. Touch ups after installation are far easier than painting full coats along the floor, so our interior painting team almost always pre‑finishes trim.
Good planning, straight cuts, and careful caulking matter more than fancy tools.
Step 3: Cut inside and outside corners
For outside corners, cut standard 45° miters so the two pieces meet in a crisp point. On inside corners, coping gives a much tighter long‑term fit than a simple miter, especially in older North Vancouver houses where walls aren’t perfectly square.
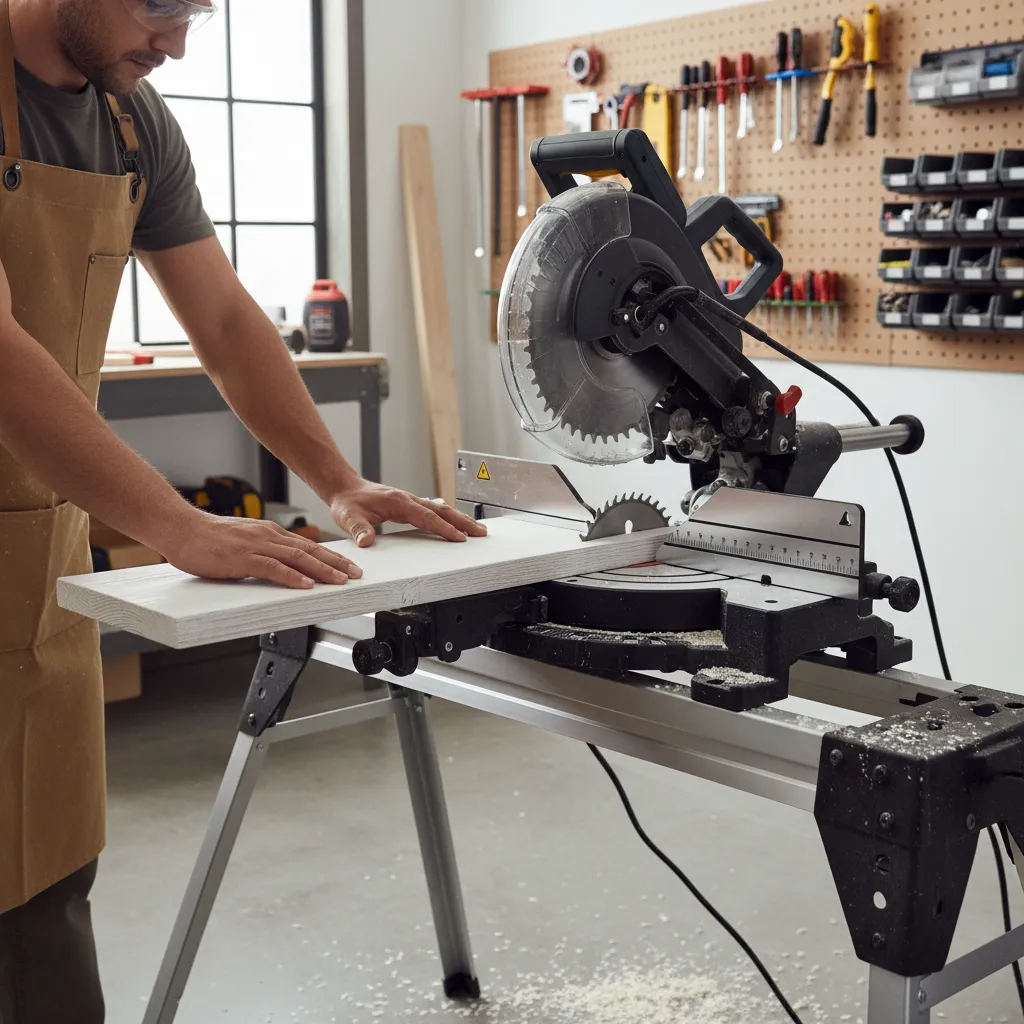
Accurate cuts on a miter saw make inside and outside baseboard corners look professional.
- Cut the first piece to length with a 90° cut and tuck it tight into the corner.
- On the second piece, cut a 45° miter to expose the profile.
- Use a coping saw to follow the profile line, back cutting slightly so only the profile edge touches.
- Test fit and fine tune with a file or sandpaper until the joint closes nicely.
Step 4: Fasten the baseboards
Hold the baseboard tight to the floor, check that the top line is straight, then fasten through the thickest part of the profile into studs or the bottom plate. For most homes, one nail every 16″–24″ works well.
On wavy walls, a thin bead of construction adhesive along the back of the board plus nails at studs keeps things flush. Wipe any squeeze out right away with a damp cloth.
Step 5: Fill, caulk, and touch‑up
Once everything is installed, use wood filler or spackling on nail holes and any small dings. Lightly sand when dry. Then run a thin bead of paintable caulk along the top edge where it meets the wall and smooth it with a damp finger or caulk tool.
A final light coat of paint over the baseboard and caulked joint pulls the whole room together. If you’re doing other work like drywall repairs or touch up painting, try to bundle it all so you only mask and cover floors once.
How to install baseboards without a nail gun
No compressor? No problem. Many homeowners google “how to install baseboards without nail gun” and realize that buying a full nailer setup for one room doesn’t make much sense.
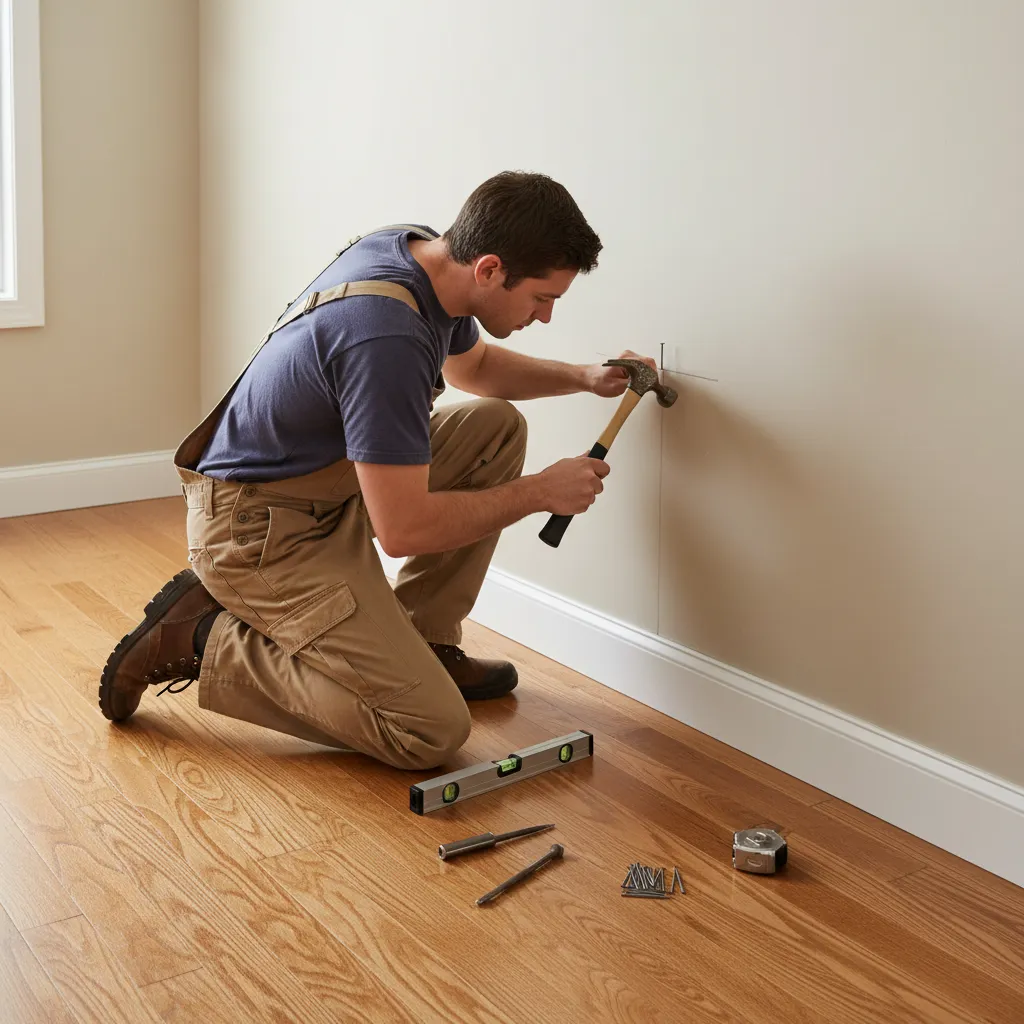
Hand nailing baseboards with a hammer and finish nails is still a solid option for small projects.
Method 1: Hammer and finish nails
- Pre‑drill angled pilot holes through the thick part of the baseboard at studs to reduce splintering, especially with MDF.
- Hold the board tight in place and drive finish nails with a hammer.
- Use a nail set to sink nail heads slightly below the surface.
- Fill the holes with wood filler and sand smooth when dry.
Method 2: Construction adhesive (with minimal nails)
In some condos and basements you may not hit many studs, or you might want to keep hammer noise down. Use a strong construction adhesive rated for trim plus a few hand driven nails near the ends and at corners, and follow the adhesive manufacturer’s instructions for cure time and ventilation brands like Loctite publish helpful data sheets if you want the technical details.
How to install rubber baseboards
Rubber or vinyl cove base installs differently than wood: it bends, needs smooth walls, and relies entirely on adhesive.
Prep the walls
- Scrape off any loose paint, old glue, or bumps.
- Patch major dents and let them dry.
- Vacuum or wipe the wall so dust doesn’t weaken the bond.
Cut and glue the base
- Cut lengths with a sharp utility knife and a straightedge.
- Apply the recommended cove base adhesive in a zig zag pattern on the back.
- Press the base to the wall, starting in the centre of the piece and working toward the ends.
- Use a small hand roller to press it firmly so the full back contacts the wall.
Corners and transitions
Inside corners can often be bent if the manufacturer allows, or you can cut a slight relief on the back. Outside corners usually need a neat miter or a pre‑formed corner, so check your product’s installation guide for the exact corner details.
If your project mixes rubber base, painted trim, and new flooring, our handyman services can coordinate the sequence so each trade works in the right order.
How long does it take to install baseboards?
Here’s a ballpark for how long baseboard installation usually takes.
| Room size / scope | Handy homeowner | Pro crew (Microworks‑style) |
| Single 10′ × 12′ bedroom, simple trim | 4–6 hours (including caulk and touch‑ups) | 1.5–3 hours |
| Main floor (living, dining, hall), circa 120–160 linear feet | Full weekend | Half day to a full day |
| Old house with wavy walls and lots of corners | Weekend plus evenings | Full day, sometimes split over 2 visits with painting |
These times assume the room is cleared, flooring is finished, paint colours are chosen, and adhesives or caulk have normal open and cure times. Add extra time for furniture moving, baseboard removal, or wood rot repair along exterior walls.
On a typical North Vancouver townhouse project, two of our techs might remove the old trim, repair a few damaged drywall spots, install new baseboards, and get a first paint coat done in a single long day, then return briefly for final touch ups.
When it makes sense to call a handyman
Some baseboard jobs are perfect DIY projects; others become “one more trip to the store” plus a lot of blue tape on the floor. Here’s when bringing in a pro usually pays off:
- Your house has lots of angled walls, bay windows, or out of square corners.
- You’re already juggling painting, drywall repairs, or new doors at the same time.
- You don’t own a miter saw and nailer and don’t really want to.
- You’re on a tight timeline before a move in or listing photos.
At Microworks Handyman, we focus on these small to mid sized trim projects across the North Shore and nearby Metro Vancouver communities.
Most of our baseboard visits on the North Shore bundle trim with small paint touch ups or door adjustments, so you’re not booking separate visits for 30 minute tasks.
For a clear, fixed quote, send a few photos and rough measurements through our Get an Estimate form and we’ll respond quickly with options.
FAQs
Do you install baseboards before or after flooring?
In most cases, flooring goes in first, then baseboards sit on top of the finished floor. This lets you run flooring tight to the wall and use the baseboard to cover the expansion gap. For some floating floors with separate shoe molding, there are exceptions, but that’s the general rule in Metro Vancouver homes.
Should you caulk between baseboard and floor?
Usually no. Leave a small gap at the floor so things can move a little and so you’re not sealing in moisture on hard surfaces. We caulk the top of the baseboard to the wall almost every time because it hides tiny gaps and gives a sharp paint line.
What’s the best height for baseboards?
Common sizes in our area range from 3 ½” in smaller condos up to 5 ½” or more in taller homes. Eight foot ceilings often look good with 3 ½”–4 ¼” baseboards; nine foot and higher ceilings can handle 5″ and up. If you’re matching existing trim, stay consistent throughout the level.
Can I reuse my old baseboards?
Sometimes. If they come off cleanly and you label each piece by room and wall, you can reinstall them after new flooring. Old MDF that’s swollen at the bottom or wood trim with a lot of paint build‑up usually isn’t worth the trouble compared to new stock.