If you’ve spotted peeling paint, swollen trim, or a musty smell where your wall meets the floor, you might be looking at baseboard water damage. In many Metro Vancouver homes, those small changes start long before anyone notices a leak. A bit of shower spray here, a wet dog shake there, or a tiny drip behind the drywall gradually soaks into the lowest part of the wall system. Because baseboards sit right at that splash zone, they’re often the first clue that something wetter is going on nearby. The good news: caught early, these issues are usually repairable without tearing your whole room apart.
In this guide, we’ll walk through the most common signs of water damaged baseboards, what they tell you about the source of moisture, whether you can simply paint over the damage, and when it’s time to call a local handyman instead of wrestling with trim and caulking yourself.
Contents
- TL;DR
- Why baseboards show water problems first
- Common signs of baseboard water damage
- Can you paint over water damaged baseboards?
- How do you fix water damaged baseboards?
- How to prevent baseboard water damage in the first place
- When baseboard water damage might mean something bigger
- Need help with water damaged baseboards on the North Shore?
TL;DR
- Baseboards are often the first place you’ll spot leaks, splashes, or condensation problems.
- Look for swelling, soft spots, stains, peeling paint, gaps, and musty smells along walls and floors.
- Paint alone won’t fix rotten or swollen MDF; damaged sections usually need repair or replacement.
- Always tackle the source of moisture first, then repair trim, seal joints, and repaint.
- In North Vancouver, West Vancouver, and nearby areas, a small job specialist like Microworks Handyman can handle this as a quick, contained project.
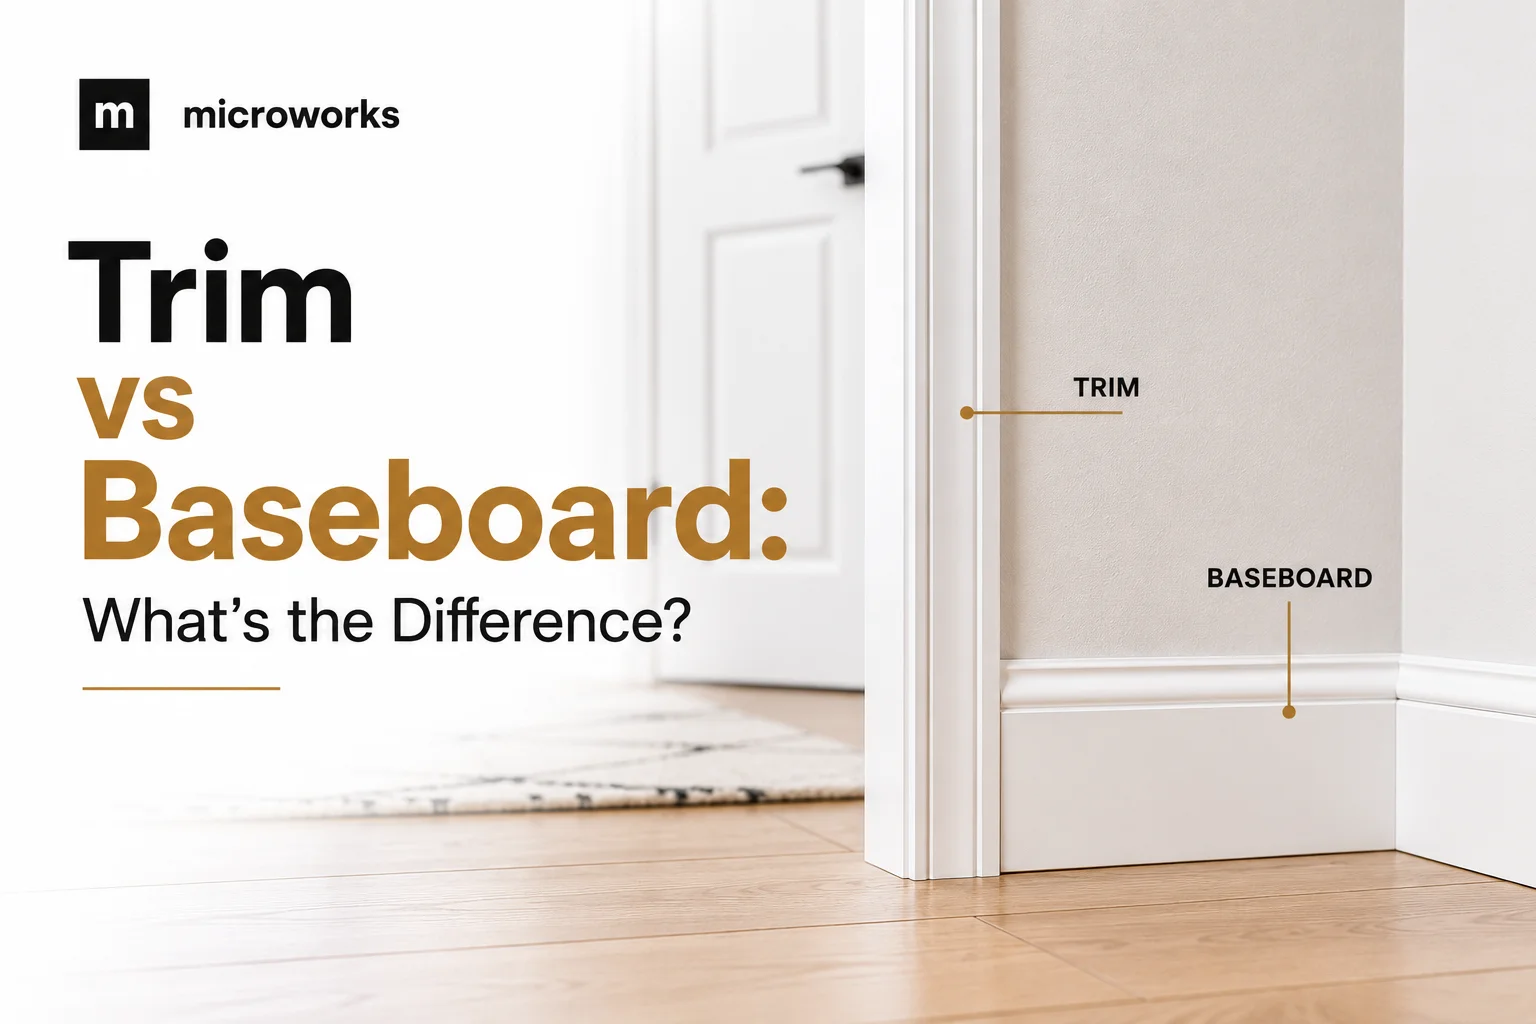
Why baseboards show water problems first
Baseboards sit right where three big moisture sources meet: the floor, the wall, and nearby fixtures or doors. In bathrooms, that means shower spray and steamy air. In entryways, that means wet boots, umbrellas, and melting snow. In basements and exterior walls, that can include condensation or minor foundation seepage.
Most modern trim is MDF or finger jointed pine, which soaks up moisture like a sponge. Once it swells or softens, it rarely returns to its original shape. That’s why, on many trim and baseboard repair visits, the baseboard tells us there’s a hidden drip or chronic splash issue before the homeowner ever sees a puddle.
Common signs of baseboard water damage
“If something at floor level looks off or feels soft, treat it like an early warning light on your dashboard.”
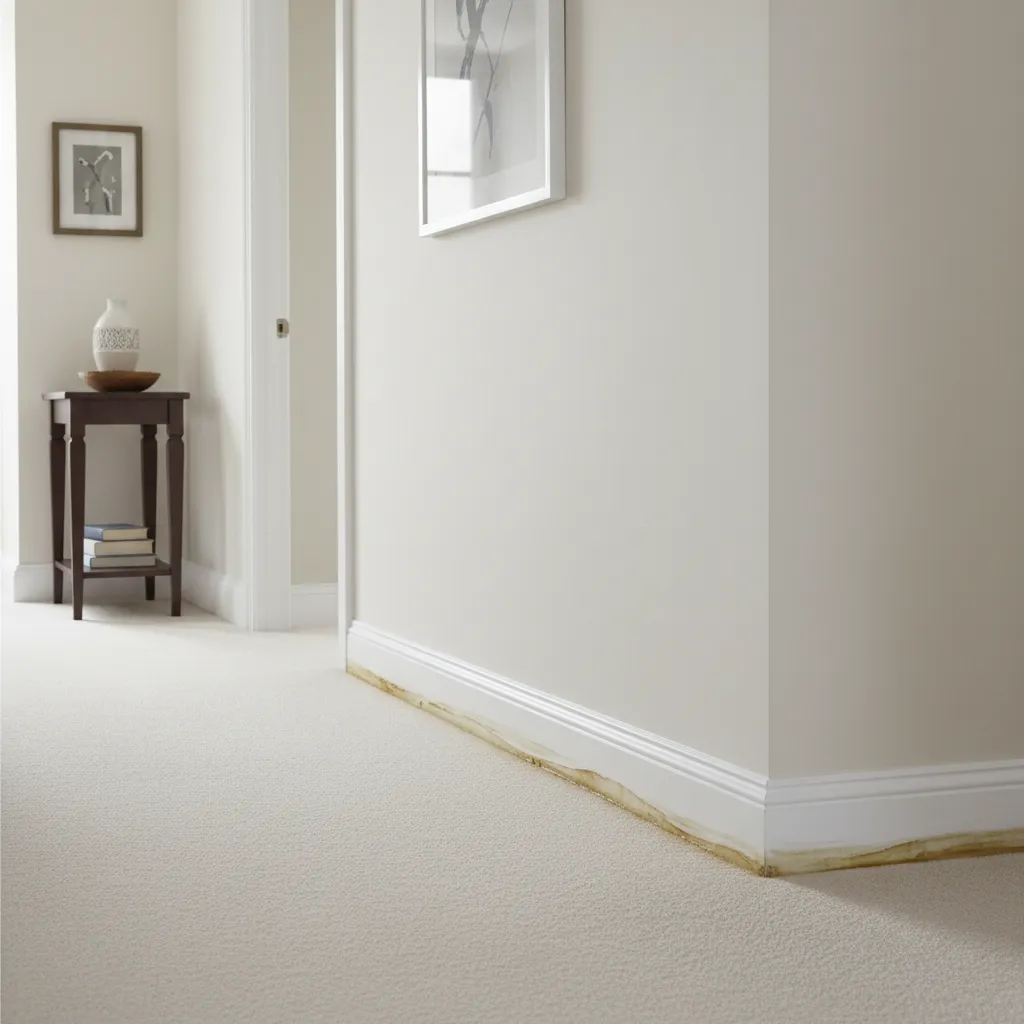
Stained and slightly warped baseboards can be one of the first visible signs of water damage.
1. Swollen, bulging, or wavy trim
One of the clearest signs is baseboard that looks puffed out, wavy, or thicker in a few spots. MDF in particular will swell and round over at the bottom edge once it soaks up moisture. You might notice:
- A curved or rippled profile where it used to be straight
- Rounded, “mushroomed” bottoms near tubs, showers, or sinks
- Baseboard that stands proud of the wall in just one area
If the swelling is minor and the material still feels firm, it may be possible to sand, fill, and repaint. If it’s spongy, friable, or crumbling, that section usually needs replacement.
2. Peeling paint, bubbles, or cracked caulking
Paint and caulking don’t like constant moisture. Watch for:
- Paint blisters or bubbles along the top edge of the baseboard
- Hairline cracks where caulking has separated from the wall or floor
- Flaking paint right at the corner of tub, shower, or exterior doors
These often show up before the wood or MDF itself is badly damaged. In bathrooms and kitchens, worn or missing caulking around the baseboard can let splashes wick directly into the trim and drywall behind it.
3. Stains, discoloration, or soft spots
Brownish “coffee” stains, yellow streaks, or darker patches along the baseboard usually mean water has already passed through the paint film. Press gently with your thumb:
- If the baseboard feels solid but discoloured, it may just need cleaning, priming, and painting.
- If it dents easily or flakes under light pressure, moisture has likely broken down the fibres.
Pay close attention to spots under windows, below dishwasher or fridge water lines, and around toilets, where slow leaks are common.
4. Musty smell or visible mould at floor level
A persistent musty smell near the floor, even when things look mostly fine, should raise a flag. You might see:
- Grey, black, or greenish spotting along caulking or the lower edge of the wall
- Dark shadowing on the paint just above the baseboard
- Localized smell that gets stronger when you crouch down
Surface mildew on painted trim can often be cleaned and sealed, but growth behind the baseboard or in insulation is a different story. For questions about how mold affects health, check current guidance from organizations such as Health Canada, and talk with a healthcare professional if you have concerns.
5. Gaps between baseboard and wall or floor
Gaps don’t always mean water, but when they show up alongside staining or soft spots, they can be a sign that the trim has warped. Watch for:
- Baseboard that pulled away from the wall after a plumbing leak or flooding event
- Open joints at inside corners in a bathroom or laundry room
- A gap that keeps coming back, even after recaulking
Movement like this can mean the material expands when wet and never fully returns to its original shape. In that case, a tidy replacement is usually faster and cleaner than repeated cosmetic fixes.
Can you paint over water damaged baseboards?
This is one of the most common questions we hear: can you paint over water damaged baseboards and call it done? Sometimes, but only under the right conditions.
Paint is cosmetic. It hides stains and protects wood or MDF from minor splashes, but it does not strengthen rotten material or solve leaks. Before reaching for a brush, make sure:
- The source of moisture has been found and fixed.
- The trim is completely dry (a fan or dehumidifier can help in our damp coastal climate).
- The surface feels firm, not spongy or crumbly.
If those boxes are checked, you can usually sand the damaged area, spot fill with wood filler, prime with a good stain blocking primer, then repaint. That’s a typical scope for a minor painting and touch up visit. If the baseboard is swollen or rotten, replacement is a better long term fix.
How do you fix water damaged baseboards?
There’s a simple rule of thumb for anyone asking, “How do you fix water damaged baseboards?”: fix the water, then fix the baseboard. In other words, treat the trim as a symptom, not the whole issue.
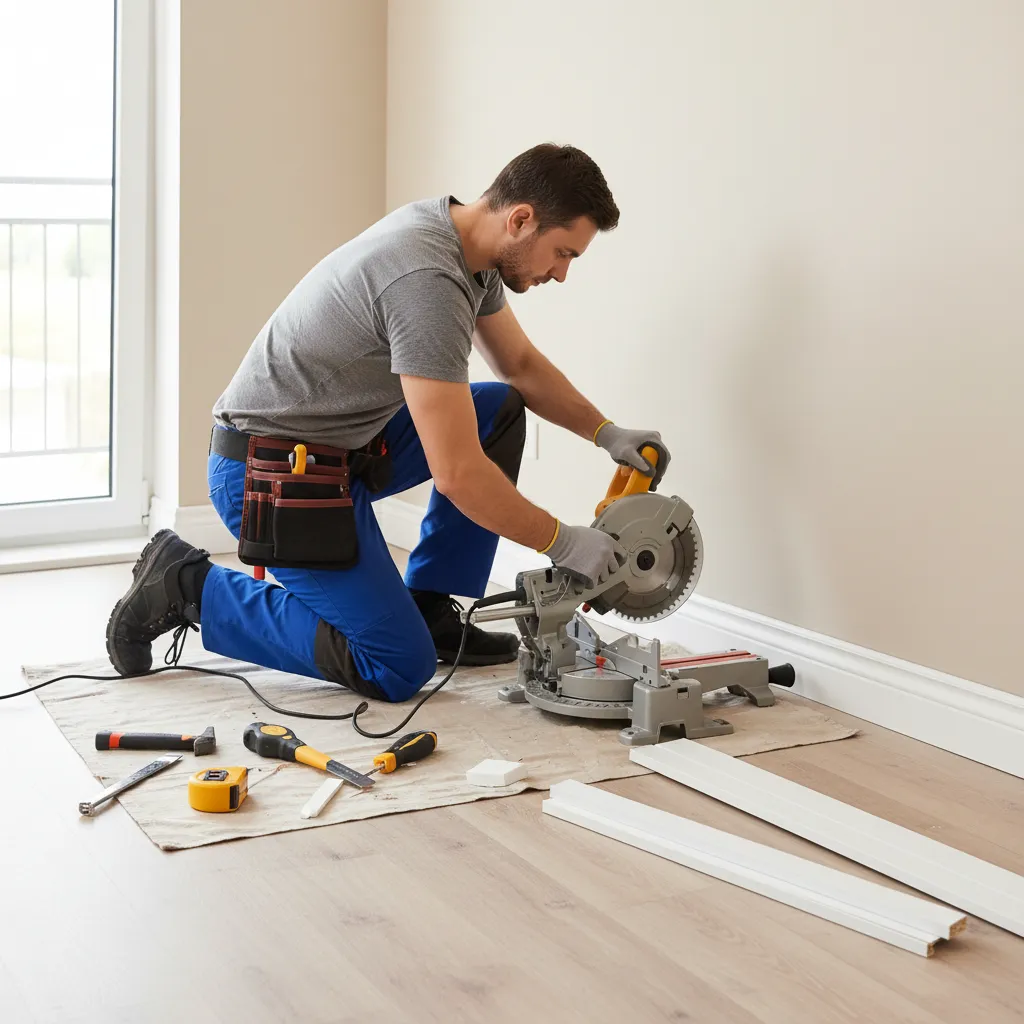
A handyman replacing damaged baseboards as part of a small repair project.
Step 1: Track down the source of moisture
Common culprits in North Shore homes include:
- Leaky toilet supply lines or shut‑off valves
- Shower doors and curtains that don’t quite close
- Dishwasher and fridge water lines that drip slowly
- Condensation on cold exterior walls and poorly sealed windows
Fix or have those items repaired first. Otherwise, any new trim or paint will be back in the same shape within a season.
Step 2: Dry the area thoroughly
Once the leak or splash issue is under control, dry the space:
- Run a fan across the affected wall and floor.
- Use a dehumidifier in small bathrooms, basements, or laundry rooms.
- In warm weather, crack windows to improve airflow.
For heavy soaking or floods, a restoration company that follows standards from groups such as the IICRC is a better choice than simple handyman work.
Step 3: Decide whether to repair or replace the baseboard
Once everything is dry, inspect the baseboard:
- Minor damage: small stains, hairline cracks, or slightly rough edges. Sand, fill, prime, and paint.
- Moderate damage: some swelling but still mostly firm. You may be able to patch, but many homeowners prefer to replace a short section for a cleaner look.
- Severe damage: major swelling, crumbling MDF, or mouldy drywall behind the trim. Plan to remove and replace the affected piece and possibly repair drywall as well.
Replacing a section usually involves carefully prying off the old baseboard, cutting a new piece to match, re‑installing with nails or screws, re‑caulking joints, and repainting. On the Microworks team, we often pair this sort of trim work with small drywall repairs when the moisture reaches the wallboard.
Step 4: When to call a handyman in North Vancouver
DIY baseboard work can look simple on YouTube, but real houses rarely have perfect corners or straight walls. Consider bringing in a small project specialist if:
- You’re dealing with multiple rooms or long runs of damaged trim.
- You don’t have a mitre saw, caulking gun, or experience coping inside corners.
- The damage ties into tile, built‑ins, or other finishes you don’t want to disturb.
For many of our North Vancouver and Burnaby clients, this turns into a tidy half day visit: we sort out the damaged trim, refresh caulking, touch up paint, and tick a few other nagging tasks off the list at the same time.
How to prevent baseboard water damage in the first place
A little routine care goes a long way, especially in our wet coastal climate. Here’s a simple “look, touch, smell” checklist Microworks techs often share with clients.
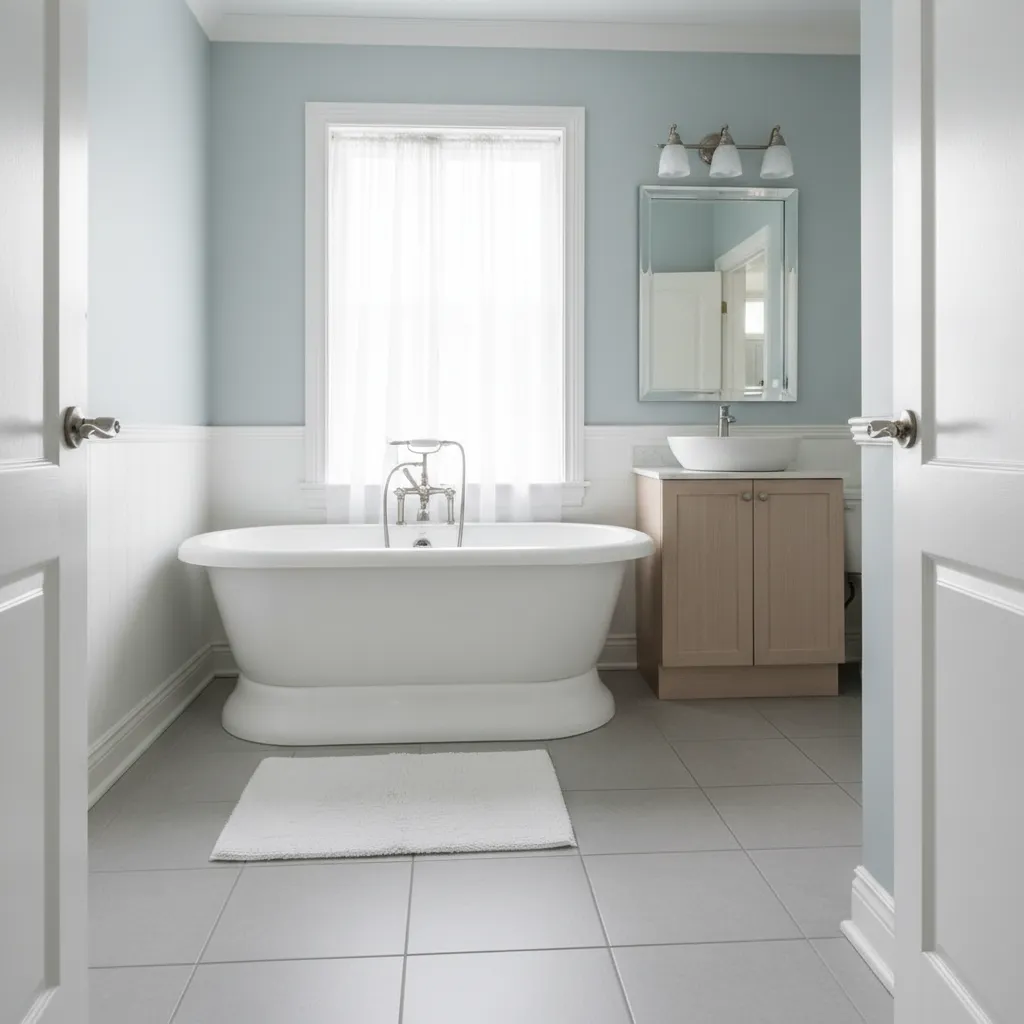
Good habits in wet rooms, like using bathmats and keeping trim dry, can prevent baseboard water damage.
Bathrooms, kitchens, and laundry rooms
- Look: Check corners near tubs, showers, and dishwashers for fresh staining, gaps, or peeling caulking.
- Touch: Press along suspect sections every few months to make sure they still feel firm.
- Smell: Pay attention to musty odours that linger after the room has dried out.
Simple habits like using bathmats, wiping up puddles after showers, and keeping a good bead of silicone where tile meets tub all reduce wear on your baseboards. If you’re not a fan of working with sealants, you can always bundle caulking into a bathroom repair visit.
Exterior walls, basements, and entryways
- Place boot trays and mats at entrances so meltwater doesn’t sit against trim.
- Check around patio doors and low windows for drafts and water staining.
- Keep gutters and downspouts clear so water sheds away from foundations.
- Use a dehumidifier in damp basements to limit condensation along cold walls.
For a deeper overview of moisture management in Canadian homes, homeowner resources from groups like the Canada Mortgage and Housing Corporation are a solid reference alongside local pro advice.
When baseboard water damage might mean something bigger
Most small patches of damage around a tub, sink, or entryway fall firmly in “handyman territory.” But some situations hint at a more serious problem:
- Long runs of stained baseboard along an exterior wall or below several windows
- Repeated swelling in the same spot, even after repair
- Mouldy smells plus warping in multiple rooms or levels
In those cases, it can make sense for your handyman and, if needed, a plumber or building envelope specialist to team up, so the underlying cause is addressed before you spend money on finishes.
Need help with water damaged baseboards on the North Shore?
If you’re in North Vancouver, West Vancouver, Vancouver, Burnaby, Coquitlam, or nearby areas and your baseboards are starting to tell you a story, you don’t have to tackle it alone. Microworks Handyman was built around these exact “micro” projects: a few feet of swollen trim, a bit of damaged drywall, some fresh caulking, and a clean paint finish so the room feels looked after again.
We’re a Red Seal led, small project only team, fully insured and focused on tidy, repeatable work. If you’d like a professional set of eyes on your water damaged baseboards and maybe a few other items on your home’s to-do list get an estimate and we’ll follow up with clear next steps.