Working on an older home in Vancouver, North Vancouver, West Van, or Burnaby? Updating your bathroom with new wainscoting, baseboard, and a modern vanity can instantly upgrade the space and add resale value. But older homes come with quirks—thin walls, odd angles, and layers of previous renos that can make a simple update feel like a puzzle.
Here’s how to do it right, without cutting corners.
Contents
What You’ll Need
-
PPE: Safety glasses, gloves, dust mask/respirator
-
Pry bar & utility knife
-
Tape measure & level
-
Construction adhesive (e.g. PL Premium Fast Grab)
-
18-gauge brad nailer (or finish nailer)
-
Short brad nails (1″ – 1.25″)
-
New baseboard & wainscoting panels
-
New vanity & plumbing tools (wrenches, plumber’s tape, etc.)
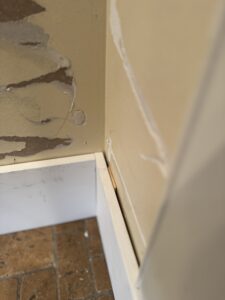
Step 1: Remove the Old Trim and Vanity Safely
Suit up: Before anything, put on your PPE—especially eye protection and a dust mask. Older homes may have lead paint or mold hiding behind trim or vanities.
Use a utility knife to score the caulking lines, then gently pry the old baseboard and wainscoting away using a flat bar. For the vanity, shut off the water, disconnect the plumbing, and unscrew it from the wall. Be careful—many older homes in Vancouver and Burnaby have brittle drywall or thin plaster.
Step 2: Choose Matching Wainscoting and Baseboards
If you’re trying to match existing trim, it’s best to source your new materials from Westcoast Moulding & Millwork or a large supplier that offers a wide selection. Bring in a sample of your old trim if possible. For consistency, get your baseboard and wainscoting from the same product line.
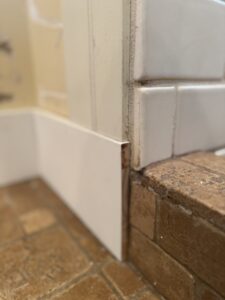
Step 3: Install the Baseboard First
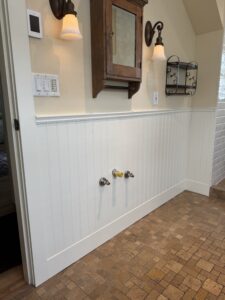
This is key. Install the baseboard before the wainscoting—it acts as your reference line. Use a level to get the top edge as close to level as possible, but most importantly, make sure it sits straight in and out along the wall. A bowed or uneven baseboard will make your wainscoting look crooked, even if it’s level.
Tip: Walls in older homes are rarely perfect. Use shims if you need to correct dips or curves.
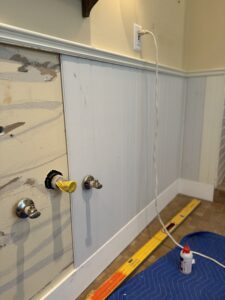
Step 4: Install the Wainscoting with Adhesive and Pins
Don’t waste time looking for studs. In most older homes, stud spacing is inconsistent, and you risk hitting plumbing or old electrical.
Instead, apply a generous amount of PL Premium Fast Grab to the back of each panel or strip. This adhesive holds well while you work and avoids slippage. Use short 1″ to 1.25″ pins in your brad nailer to tack the panels in place—just enough to hold it while the glue cures.
Start from one corner and work your way around. Use a level often, especially at corners and transitions.
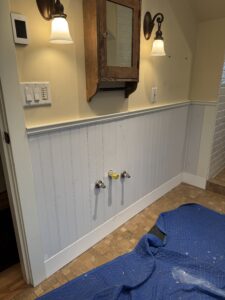
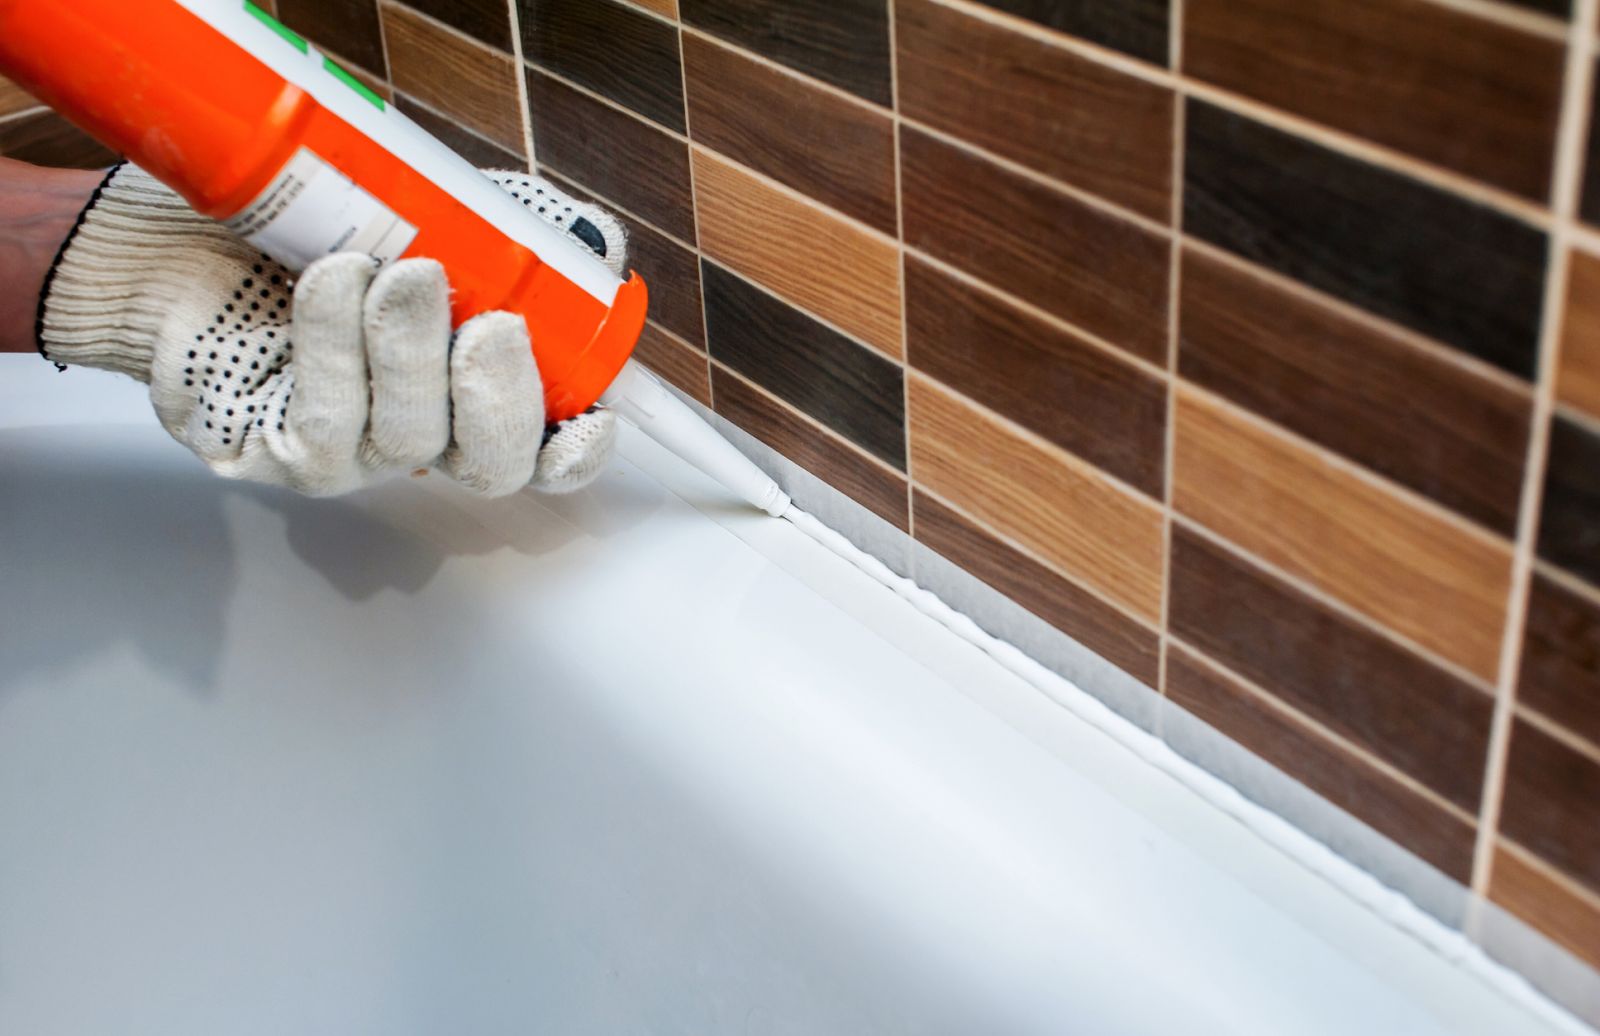
Step 5: Caulk and Paint
Once all your wainscoting is up, caulk the seams and nail holes with paintable caulk. Let it dry fully before painting. A semi-gloss or satin finish is best for bathrooms—it’s durable and easy to wipe down.
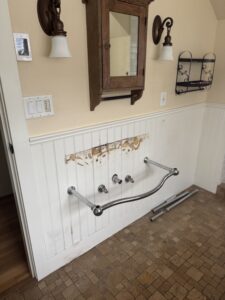
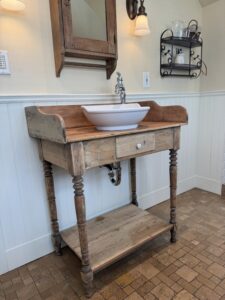
Step 6: Install the New Vanity
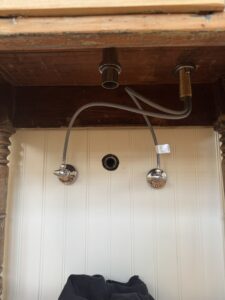
With your walls done, it’s time for the new vanity. Place it carefully, making sure it’s level (shim if necessary). Secure it to the wall with silicone if you can to avoid using fasteners, have a plumber reconnect the plumbing, and test for leaks. If you’re working with stone countertops, get help—they’re heavy and easy to crack if handled wrong.
Final Tips
-
Take your time—rushing trim work always shows.
-
Don’t skimp on adhesive or use long nails that could hit pipes.
-
For inspiration or techniques, This Old House and Fine Homebuilding have solid tutorials worth browsing.
-
And if you’re ever unsure about plumbing connections or electrical clearance behind the wall, call a pro.
Prefer to Skip the Headache?
We get it. Older homes are full of surprises. At Microworks, we’ve handled hundreds of bathroom upgrades in Vancouver, North Van, West Van, and Burnaby. If you want it done fast, clean, and properly, we’re here to help
👉 Want more DIY tips? Check out our recent post: How to Reseal a Bathtub the Right Way.
Got questions? Drop them in the comments or send us a message—we’re always happy to help you get the job done right.