If you’ve noticed cracked lines between tiles or peeling sealant around a tub, you’ve already run into the “grout vs caulk which goes where?” question. Choose wrong and you risk leaks, mold, and loose tiles.
This guide explains the difference in plain language, shows where each product belongs, and helps you decide when to DIY vs call a handyman. If grout or caulk is just one item on a bigger list, our handyman services can often tackle grout, caulking, and other small jobs in the same visit.
Contents
- Quick take: when to use grout vs caulk
- What grout actually does (and what it doesn’t)
- What caulk does differently
- Between vs Edges rule
- Grout vs caulk in showers, tubs, and backsplashes
- How to tell if you need regrouting, recaulk, or both
- DIY vs pro: which grout and caulk jobs are realistic?
- FAQs
- Need help with grout or caulk in Metro Vancouver?
Quick take: when to use grout vs caulk
If you read nothing else, start here.
| Location / Situation | Use Grout | Use Caulk |
| Between tiles on a wall or floor | Yes – this is grout’s job | No |
| Inside corners where two tiled walls meet | No | Yes – flexible caulk handles movement |
| Where tile meets tub, shower base, countertop, or window frame | No | Yes – to seal the joint and stop splashes |
| Small hairline cracks inside existing grout lines | Usually regrout or patch grout | Sometimes a thin bead of colour-matched caulk is acceptable as a band‑aid |
- Grout fills rigid gaps between tiles.
- Caulk seals flexible gaps at edges and changes of plane.
What grout actually does (and what it doesn’t)
Grout is a cement based (or sometimes epoxy) material that fills the joints between tiles. Its main jobs are to lock tiles in place, keep spacing consistent, and make the surface look finished.
- Best spots for grout: between tiles on floors, walls, and backsplashes.
- Types you’ll see: sanded grout for wider joints, unsanded for narrower joints, and epoxy grout in high‑stress or commercial settings.
Grout is water resistant, not a watertight barrier, so in a damp climate like Metro Vancouver, tired grout plus poor ventilation can invite mold growth in showers. Public health resources such as the CDC and Health Canada note that mould can start to grow on wet materials in as little as about 48 hours if they are not dried out, so gentle cleaning, good ventilation, and resealing grout (where the product calls for it) make a real difference over the long term.
“Think of grout as the tie between tiles, not the raincoat behind them.”
What caulk does differently
Caulk is a flexible sealant, usually silicone or acrylic latex. Instead of locking tiles together, it seals the gap between two different surfaces or anywhere you expect a bit of movement.
- Best spots for caulk: where tile meets tubs, shower bases, counters, windows, and at inside corners.
- Flexible: it stretches and compresses as your house moves with temperature, humidity, and normal use.
- More waterproof: quality bathroom silicone does a better job keeping liquid water out of joints than cement grout.
Manufacturers such as Custom Building Products recommend silicone sealant at changes in plane and around fixtures, while grout stays between tiles. That approach lines up with the Tile Council of North America’s tile industry guidelines that many tile installers follow.
In practical terms, caulk acts like a small, flexible gasket that moves with your tub, countertop, or window frame instead of cracking away. For wet areas, choose kitchen and bath products specifically labelled mould and mildew resistant, in a colour that either blends with your grout or matches your tub and fixtures for a clean, intentional look.
For a deeper dive into choosing and installing the right sealant, Microworks already has a detailed North Shore caulking guide.
Between vs Edges rule
Between tiles? Use grout to lock the tiles together.
At edges, corners, or where materials meet? Use a flexible caulk to seal the joint.
Run this quick check in showers, tubs, and backsplashes and you’ll choose the right product most of the time.
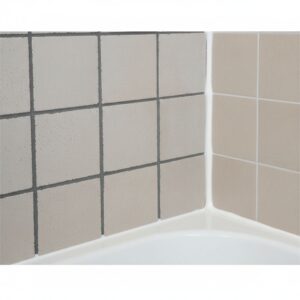
A visual way to remember the “Between vs Edges” rule for grout vs caulk.
Grout vs caulk in showers, tubs, and backsplashes
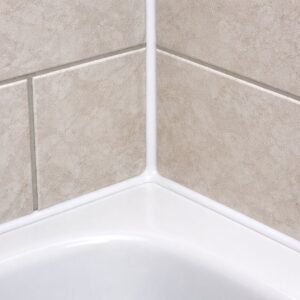
Showers and tub surrounds
- Between the tiles on the walls or floor – use grout.
- Vertical inside corners where wall meets wall – use silicone caulk.
- Where tile meets the tub or shower base – use silicone caulk, not grout.
Around Metro Vancouver we still see older showers where grout was used in corners and where tile meets the tub. As the building moves and the tub flexes under weight, that grout cracks, water sneaks behind the tile, and you start to see loose tiles, staining, or spongy drywall. Our drywall repair services are often booked for exactly that.
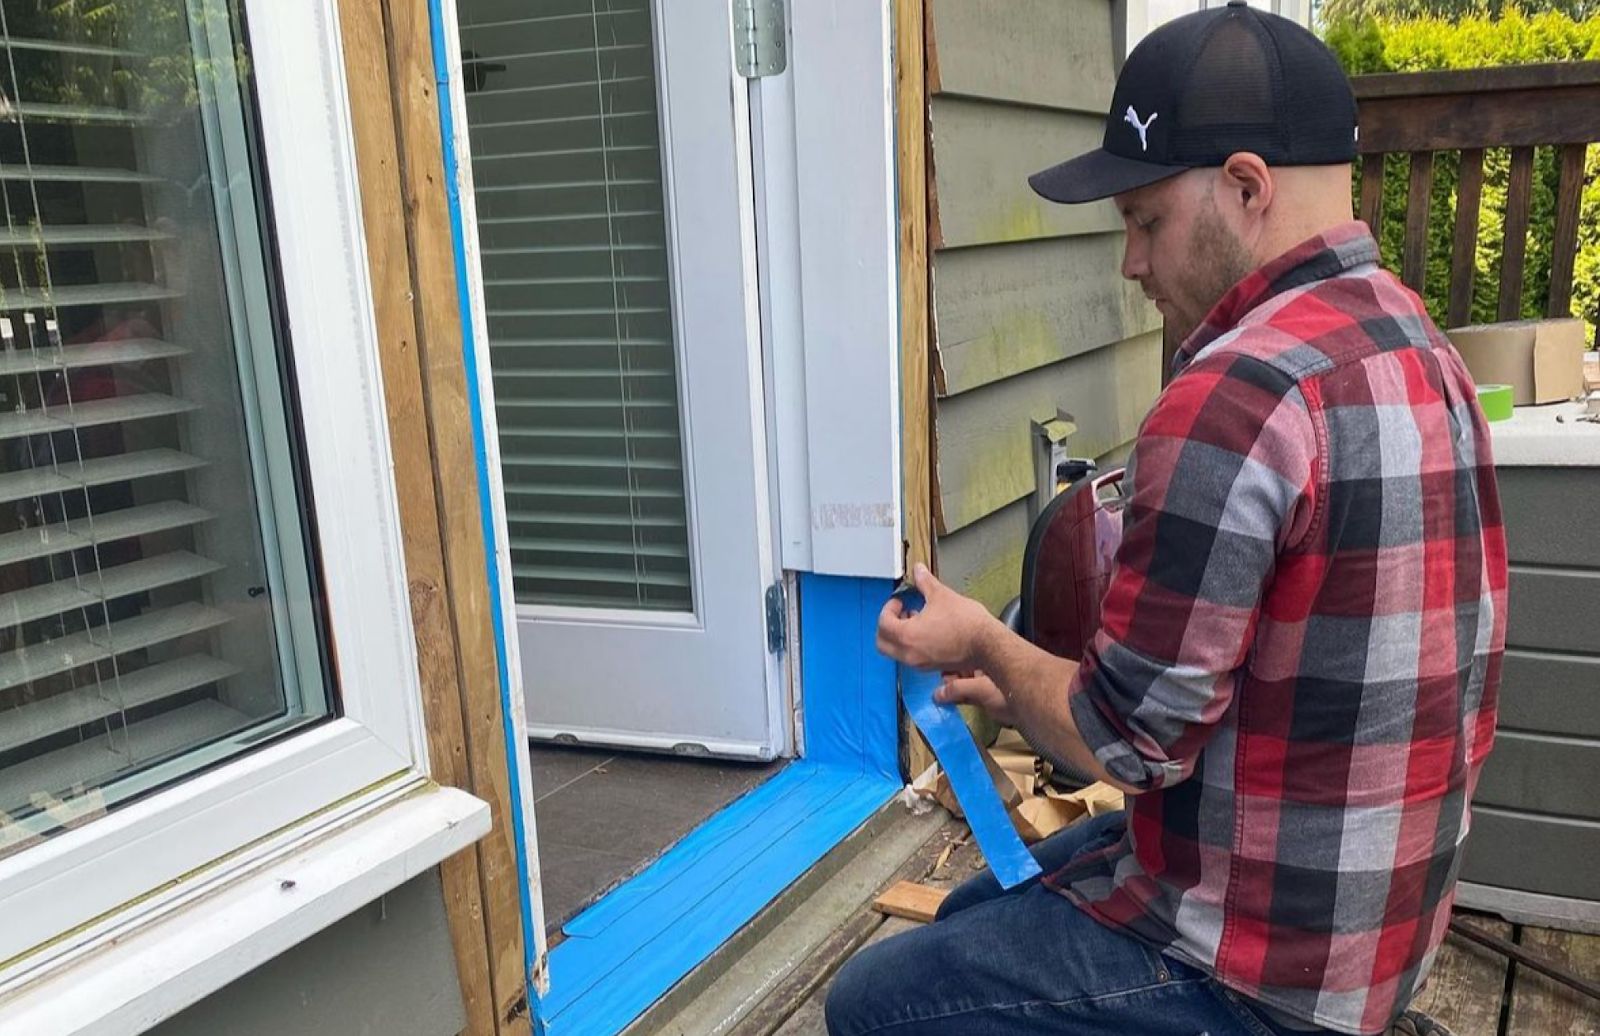
For a step by step project focused just on tubs and showers, see our homeowner guide on shower caulking.
Bathroom floors
- Tile to tile joints across the field – grout.
- Where the tiled floor meets the bathtub – caulk.
- Perimeter joints where tile meets baseboards or walls usually caulk, especially over wood subfloors.
Kitchen backsplashes and counters
- Between tiles on the backsplash grout.
- At the line where backsplash meets countertop caulk, to keep spills off the back wall.
- Around sinks and faucets caulk designed for kitchen/wet areas.
Kitchen backsplashes usually see less standing water than showers, but failed caulk behind a sink still sends moisture into drywall and cabinets over time exactly the kind of small leak mold and rot love and that often turns into larger home repair services work. Consumer advocates such as Consumer Reports consistently recommend sealing and drying wet areas quickly for that reason.
Quick self check: run a thin stream of water along the backsplash to counter the joint; if it disappears into tiny gaps instead of beading on the surface, it is time to refresh that caulk line.
How to tell if you need regrouting, recaulk, or both
Here’s the checklist we use with homeowners.
1. Look for these grout trouble signs
- Cracks running along grout lines, especially on shower floors.
- Missing chunks of grout between tiles.
- Grout that stays damp for a long time or shows dark staining and mold.
In these cases, you are often looking at regrouting those areas, not just surface cleaning. Sometimes a local patch works; other times the safest plan is to cut and replace the grout across a whole wall or floor section.
2. Check the caulk lines separately
- Gaps where the bead has pulled away from one side.
- Shrinking, cracking, or “alligatored” caulk.
- Black or pink mould stains that come back soon after cleaning.
Once caulk starts to fail, spot repairs rarely last. Usually the best fix is to remove the old bead completely, clean and dry the joint, then apply a new continuous bead of bathroom‑grade silicone.
3. Use this quick rule of thumb
- The problem is between tiles only? Think grout first.
- The problem is at an edge, corner, or where materials meet? Think caulk first.
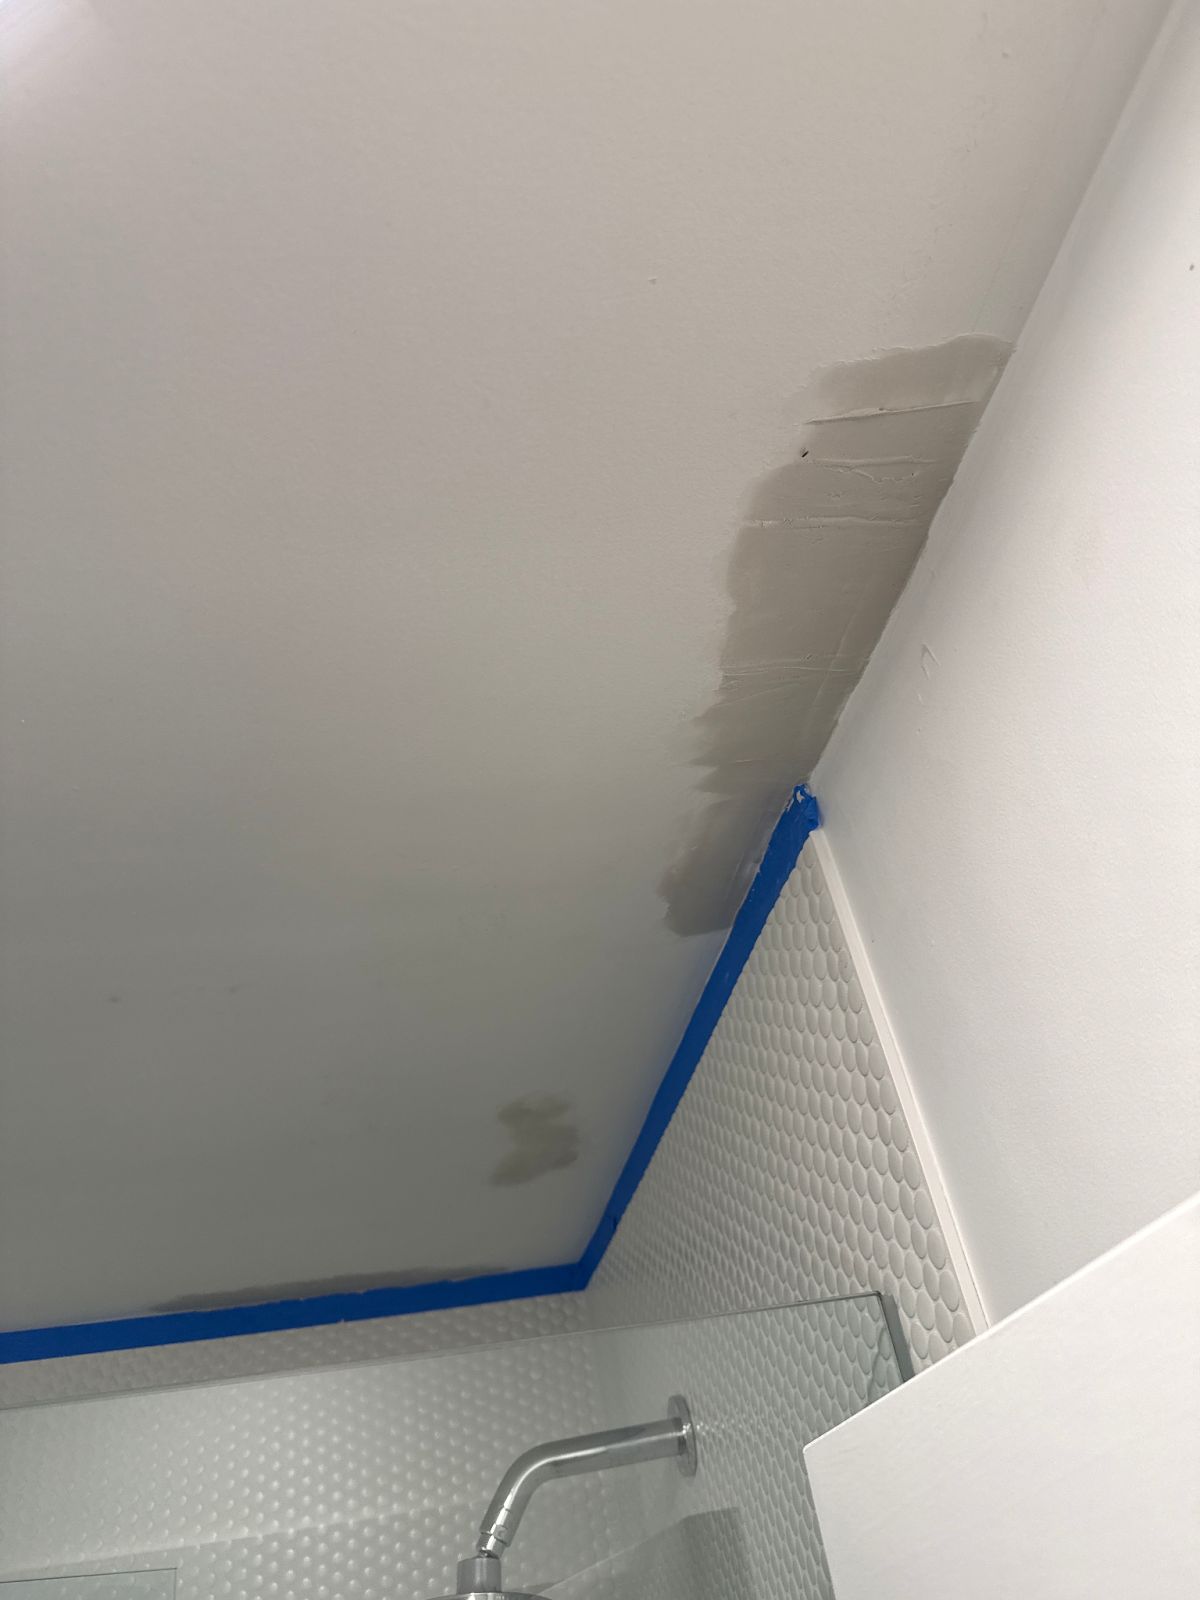
- Seeing bubbling paint, soft drywall, or loose tiles? It may be time to open things up and treat it as a full repair job.
In a North Vancouver condo shower, a small crack in the back corner plus bubbling paint on the other side of the wall is a red flag. You still need fresh caulk, but you also need to open a small area to check for damage, not just do cosmetic touch ups.
When we are called out for tile issues, we often pair fresh caulking with small wall or floor repairs so you are not sealing moisture into damaged substrates. If you suspect damage behind the surface, our team can combine tile and grout repair with other small home fixes in one visit.
DIY vs pro: which grout and caulk jobs are realistic?
Plenty of homeowners handle small grout and caulk projects themselves. The key is knowing where DIY stops making sense; our guide on what a handyman does can help you draw that line.
When DIY is reasonable
Small, surface‑level issues in otherwise sound bathrooms are usually fine to tackle yourself.
- Recaulking a tub or shower when tile and drywall are solid and there are no soft spots or stains.
- Touching up a few short grout joints with minor surface cracking but no loose tiles.
- Recaulking a kitchen backsplash with no signs of swelling or staining in the wall or cabinets.
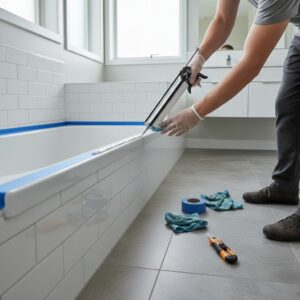
Use a bathroom rated silicone or high‑quality kitchen/bath acrylic, follow the manufacturer’s directions, and let it cure fully (often around 24 hours) before heavy water use. A few simple tools, a removal tool, painter’s tape, a decent caulking gun, rags, and basic grout tools cover most small jobs. If you are unsure, check the product instructions or manufacturer sites such as Custom Building Products for cure times and where each product belongs.
When to call a handyman
- Widespread missing, soft, or crumbling grout.
- Loose tiles, hollow sounds when you tap, or movement at the tub or shower base.
- Bubbling paint, swollen baseboards, musty smells, or visible mould near tiled areas.
- Bathrooms in older North Shore homes where past work may not meet current best practices.
Those signs usually mean there is work to do behind the tile: cutting out damaged drywall or backer board, repairing framing if needed, then rebuilding with new tile, grout, and caulk. That kind of “small but fussy” project is exactly what Microworks handles regularly across North Vancouver, West Vancouver, Vancouver, Burnaby, and Coquitlam.
FAQs
Can you put caulk over grout?
You can, but it is rarely a good long‑term fix. Caulking over loose or cracked grout only hides the problem; lasting repairs usually mean removing failed grout, checking for damage underneath, then reinstalling grout or caulk in the right places.
How often should I replace shower caulk and seal grout?
There is no universal schedule. Many specialists recommend recalculating busy showers roughly every 12–24 months based on shower‑use guidelines and resealing cement‑based grout in wet areas about every 1–3 years according to grout‑sealing best practices, depending on use and cleaning habits. The real trigger is condition: once you see cracking, gaps, staining that will not stay clean, or warped surfaces nearby, it is time to repair.
How does ventilation affect grout and caulk life?
Moisture is the enemy: the longer the grout and caulk stay wet, the faster they stain, grow mold, and break down. Running a good exhaust fan during and for 20–30 minutes after showers, cracking the door, and squeegeeing walls help them dry faster, and building‑science sources such as CMHC’s bathroom ventilation guidance recommend keeping indoor humidity lower for the same reason.
What is the difference between caulk vs grout?
Grout is a rigid filler that locks tiles together between joints, while caulk is a flexible sealant for edges, corners, and where different materials meet. In this guide we call that the “Between vs Edges” rule.
Need help with grout or caulk in Metro Vancouver?
Grout and caulk lines are small details with big consequences. A few hours of careful work now can save you from replacing tile, drywall, and flooring later.
If you are in North Vancouver, West Vancouver, Vancouver, Burnaby, or nearby communities and you are not sure whether you need a quick recaulk, a more thorough regrout, or wall and floor repairs, the Microworks team can help. We routinely pair sealing work with drywall repair so you end up with a tidy, long‑lasting finish.
- We review your photos and description, then highlight where grout, caulk, or deeper repairs are needed.
- We give you a clear scope of work and fixed‑price estimate so there are no surprises on the day.
- We schedule the work in a single, efficient visit whenever possible to minimise disruption to your home.
Share a few photos and a short description of what you are seeing, and we will turn it into a clear, fixed‑price estimate. You can start that process any time through our Get Estimate page.
Bottom line: use grout between tiles, caulk at edges and corners, and do not ignore cracks, gaps, or stains. In a damp climate like Metro Vancouver’s, those little lines are your front line against leaks and mold.