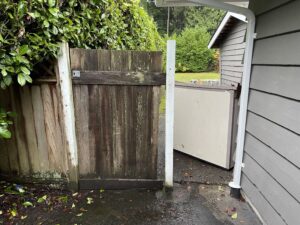
A garden entry is one of the first things people notice in a backyard, and in many West Vancouver homes the gate is also a high-use area that endures rain, moisture, and constant wear. Over time, wooden gates can sag, rot, or stop closing properly, and fence panels can weaken or break down. Replacing the gate and panel with solid cedar is one of the best ways to refresh the entry and restore both strength and curb appeal.
If you want to understand how a cedar gate and fence panel replacement is done, or you are planning to try a project like this yourself, this guide walks you through each step in a simple and practical way.
Contents
- Tools Needed
- Materials Needed
- Safety First
- Step 1: Remove the Old Gate and Panel
- Step 2: Prepare the Posts and Work Area
- Step 3: Build the Cedar Gate
- Step 4: Install the Cedar Fence Panel
- Step 5: Attach the Hardware and Hang the Gate
- Why West Vancouver Homeowners Choose Microworks Handyman?
- Before Hiring Any Handyman, Make Sure They Have:
Tools Needed
-
- Drill and exterior screws
- Circular saw or handsaw
- Measuring tape
- Level
- Speed square
- Clamps
Materials Needed
- 1×6 cedar boards
- 2×4 cedar rails
- 1×1 framing strips
- Black exterior hinges and latch
- Gate spring (optional but recommended)
- Exterior fasteners
Safety First
Before you start, protect yourself with basic PPE (Personal Protective Equipment).
- Safety glasses
- Gloves
- Hearing protection
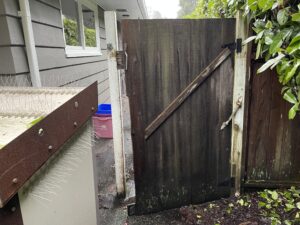
Step 1: Remove the Old Gate and Panel
Start by unscrewing the hinges and hardware from the old gate, then pull any remaining nails or screws from the fence panel. Clear the area so you can access the posts.
Make sure the posts are solid and not affected by rot. A gate needs strong posts for proper alignment and long term stability.
Step 2: Prepare the Posts and Work Area
Check that the gate post and adjoining panel post are plumb. If they are slightly out of line, you can shim or adjust the fastening points to get a straight surface for mounting the new gate and panel. Clean the area so the lumber sits flush and level.
Step 3: Build the Cedar Gate
Use your 1×6 cedar boards to build the main body of the gate. Cut the boards to height, then assemble them with a 2×4 top and bottom rail for strength.
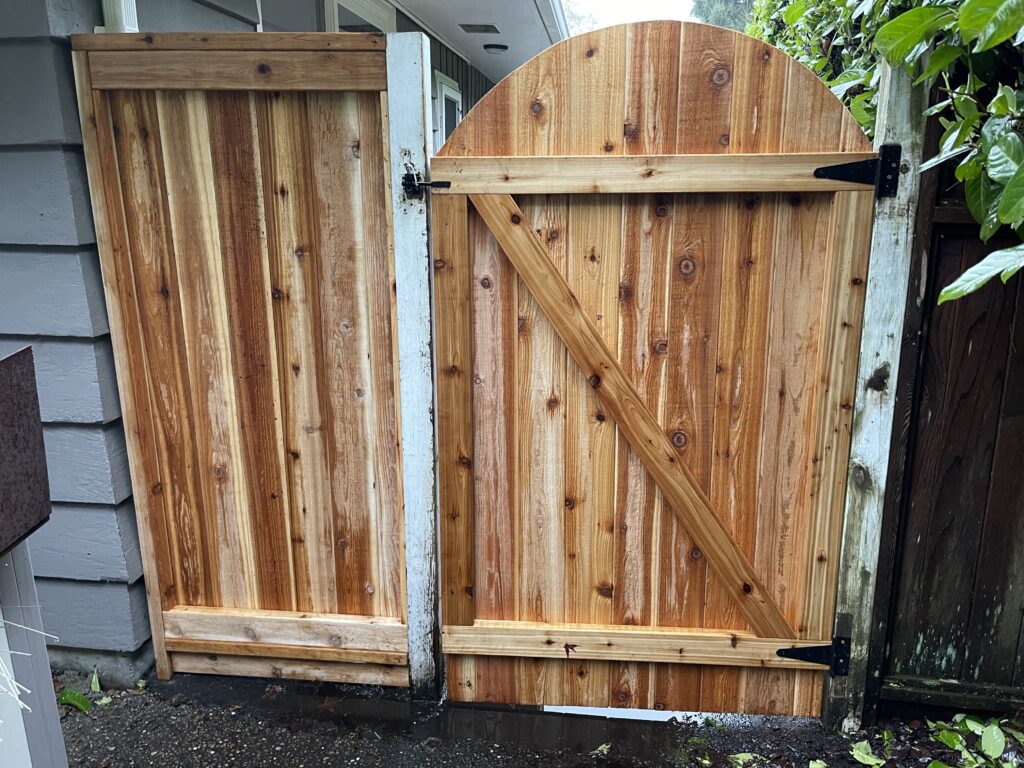
If you want a rounded gate like the one shown in the project photos, mark the curve with a string and pencil or use a template, then cut along the line with a saw.
Add a diagonal brace from corner to corner to prevent sagging. This keeps the gate square over time.

Step 4: Install the Cedar Fence Panel
The new fence panel is built using vertical 1×6 boards attached to top and bottom 2×4 rails. Add 1×1 strips at the back to create a clean, framed look and give the boards extra support.
Fasten the panel securely to the post and check that it is level before tightening all screws.
Step 5: Attach the Hardware and Hang the Gate
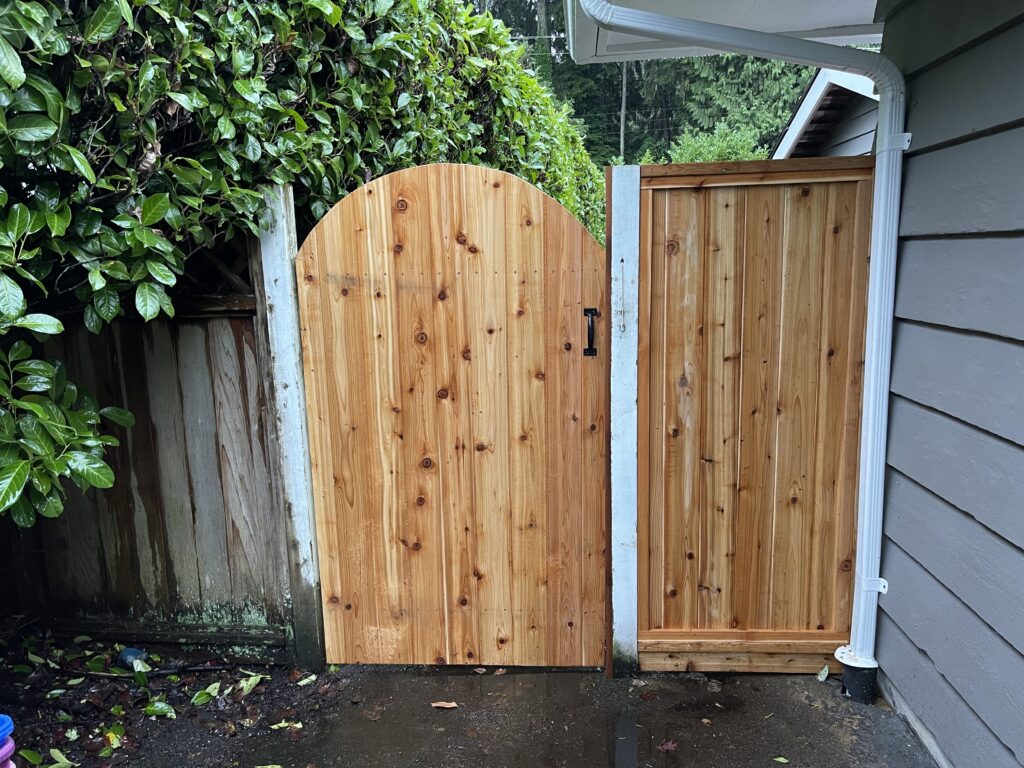
Install the black hardware, including hinges, latch, and spring. Mount the hinges to the gate post, then lift the gate into place and fasten it securely.
Test the swing several times and make any needed adjustments so the gate moves smoothly and closes firmly.
Why West Vancouver Homeowners Choose Microworks Handyman?
Cedar is one of the best materials for outdoor projects in West Vancouver because it resists rot and moisture while offering a timeless look. Microworks Handyman builds gates and panels with care and precision so your garden entry is secure, functional, and visually appealing.
If you prefer a professional to build and install your cedar garden gate, we are ready to help.
Before Hiring Any Handyman, Make Sure They Have:
- WorksafeBC coverage
- Valid business license
- Liability insurance
- Warranty offered on work
Ready to Upgrade Your Garden Entry?
Contact Microworks Handyman to schedule your cedar gate and fence panel project in West Vancouver. We provide quality materials, solid craftsmanship, and a clean finish every time.