Drywall repair in Vancouver is a common need for both homes and commercial spaces. Offices in particular often require repairs in high visibility areas such as reception desks. Damage can happen when electrical work is done, fixtures are removed, or old signage is taken down.
If you want to learn how to repair drywall above a reception desk, or simply want a clearer understanding of what a professional does, this guide will walk you through each step. It is written in a simple and practical style so any Vancouver property owner can follow it.
Contents
Tools Needed
- Utility knife
- Oscillating tool or drywall saw
- Drill and drywall screws
- Putty knife
- Sanding sponge or sanding pole
-
Paint roller and brush
Materials Needed
- Drywall sheet that matches the existing thickness
- Wood or plywood backing strips
- Drywall tape (mesh or paper)
- Joint compound
- Primer and paint
Safety First
Before you start, protect yourself with basic PPE (Personal Protective Equipment).
- Safety glasses
- Work gloves
- Dust mask or respirator
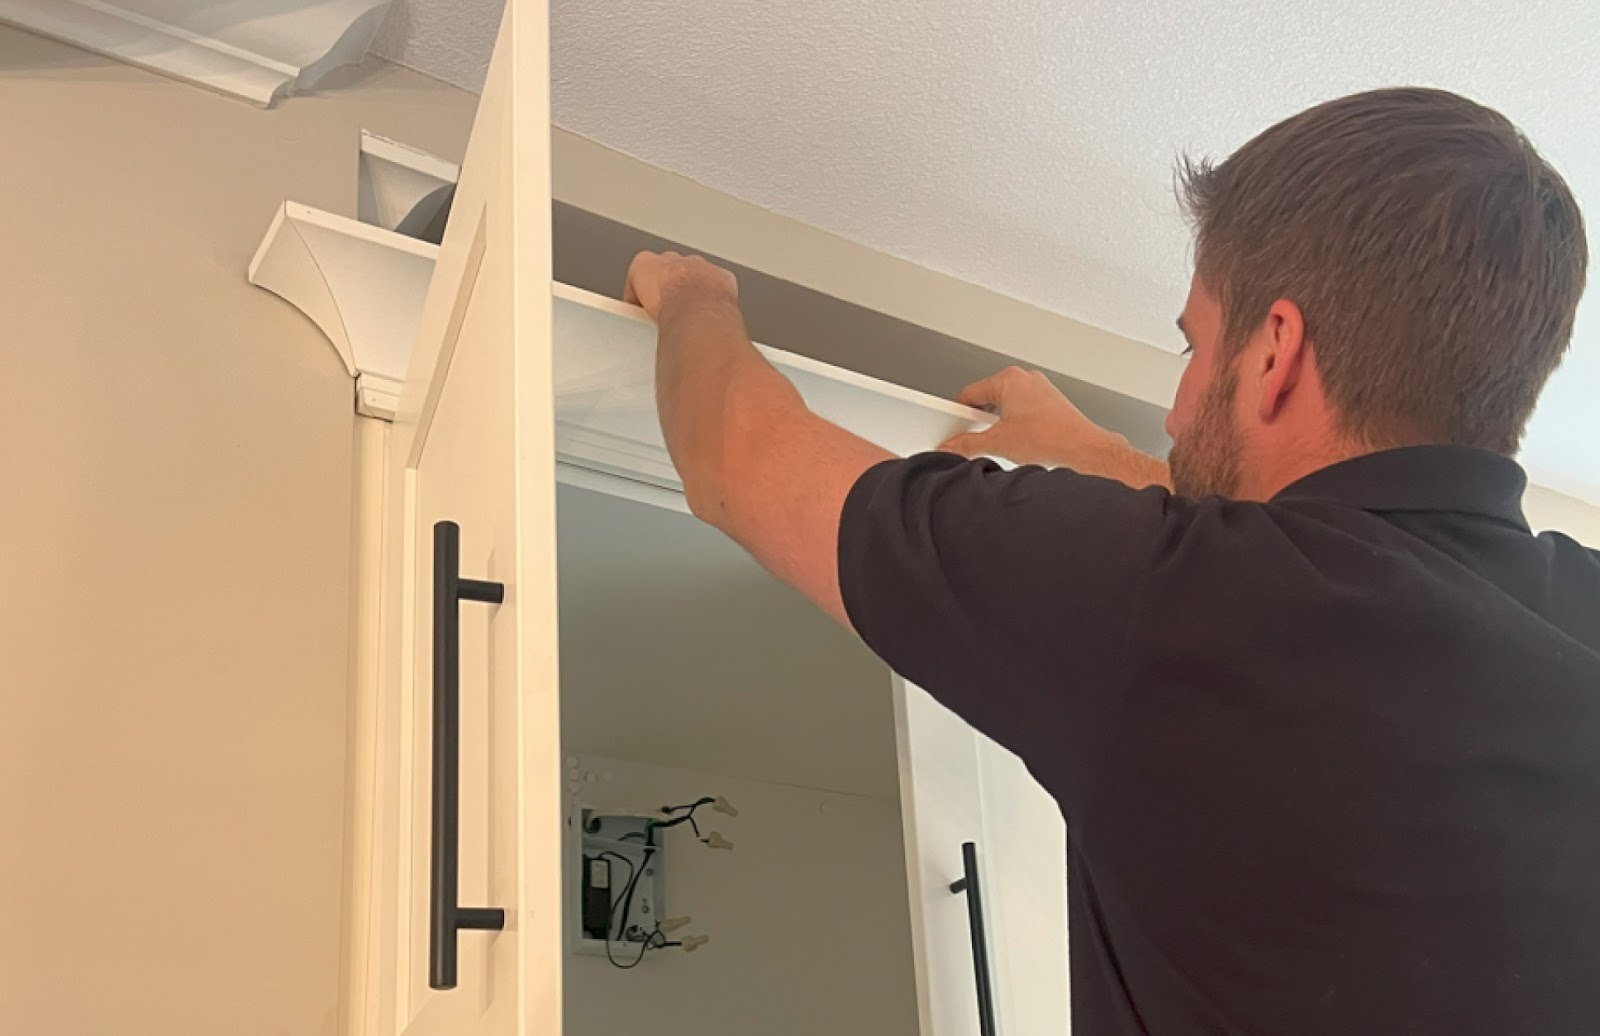
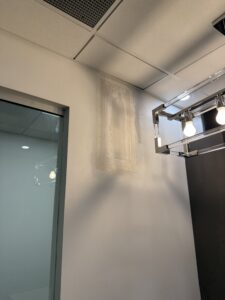
Step 1: Cut Out and Clean the Damaged Area
Start by squaring off the damaged drywall above the reception desk. Use a utility knife or oscillating tool to remove any loose or cracked sections. Creating a clean opening ensures that the new drywall will fit properly and will blend smoothly into the existing wall.
In commercial buildings, it is common to find metal studs, wiring, and insulation behind the drywall. Work carefully to avoid damaging anything inside the wall.
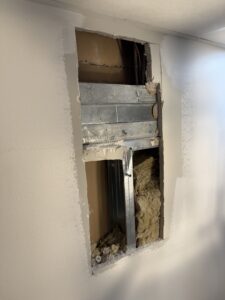
Step 2: Add Backing Support
Large openings need solid backing behind them so the new drywall can be secured in place. Install wood or plywood strips along the inside edges of the opening. Screw these into the existing framing or metal studs.
Once the backing is secured, the new drywall panel will have a strong surface to attach to. This is an essential part of any long lasting drywall repair in Vancouver.

Step 3: Install New Drywall
Cut a piece of drywall that fits your opening. Test the fit, then attach it using drywall screws. Secure it to the new backing and any studs. A tight, secure fit helps prevent future cracking or seams from showing.
Step 4: Tape and Apply the First Coat
Apply drywall tape across all seams. Mesh tape is ideal for repairs because it sticks easily and helps prevent cracking.
Spread the first coat of joint compound over the seams and screw holes. Keep this layer thin. The goal is coverage, not smoothness at this stage.
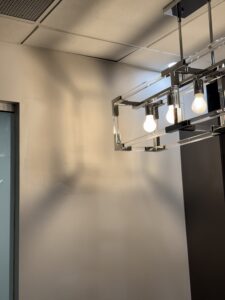
Step 5: Add Additional Coats and Sand
After the first coat dries, apply a wider second coat of compound. Once that dries, add a third finishing coat. Each coat should blend farther into the surrounding wall.
When everything is dry, sand the area until it is smooth and level. A light touch works best so the tape stays covered.
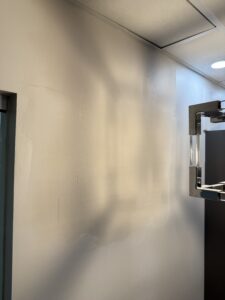
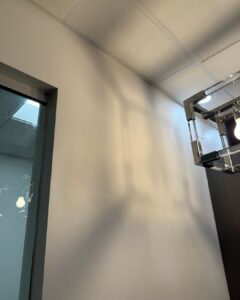
Step 6: Prime and Paint
Apply primer to seal the compound and prepare the surface for paint. This prevents flashing and ensures the repair blends in with the rest of the wall. Finish with matching paint. Two light coats usually provide the best result.
Your drywall repair above the reception desk should now look smooth and seamless.
Why Vancouver Homeowners Choose Microworks Handyman
Microworks Handyman provides reliable drywall repair services throughout Vancouver. We specialize in office drywall repair, reception area repairs, and full commercial maintenance. Our work is clean, durable, and completed with attention to detail.
If you prefer professional drywall repair rather than handling it yourself, our team is ready to help.
Before hiring any handyman, always confirm:
- WorksafeBC coverage
- Valid business license
- Liability insurance
- Warranty offered on work
For professional drywall repair in Vancouver, contact Microworks Handyman today.