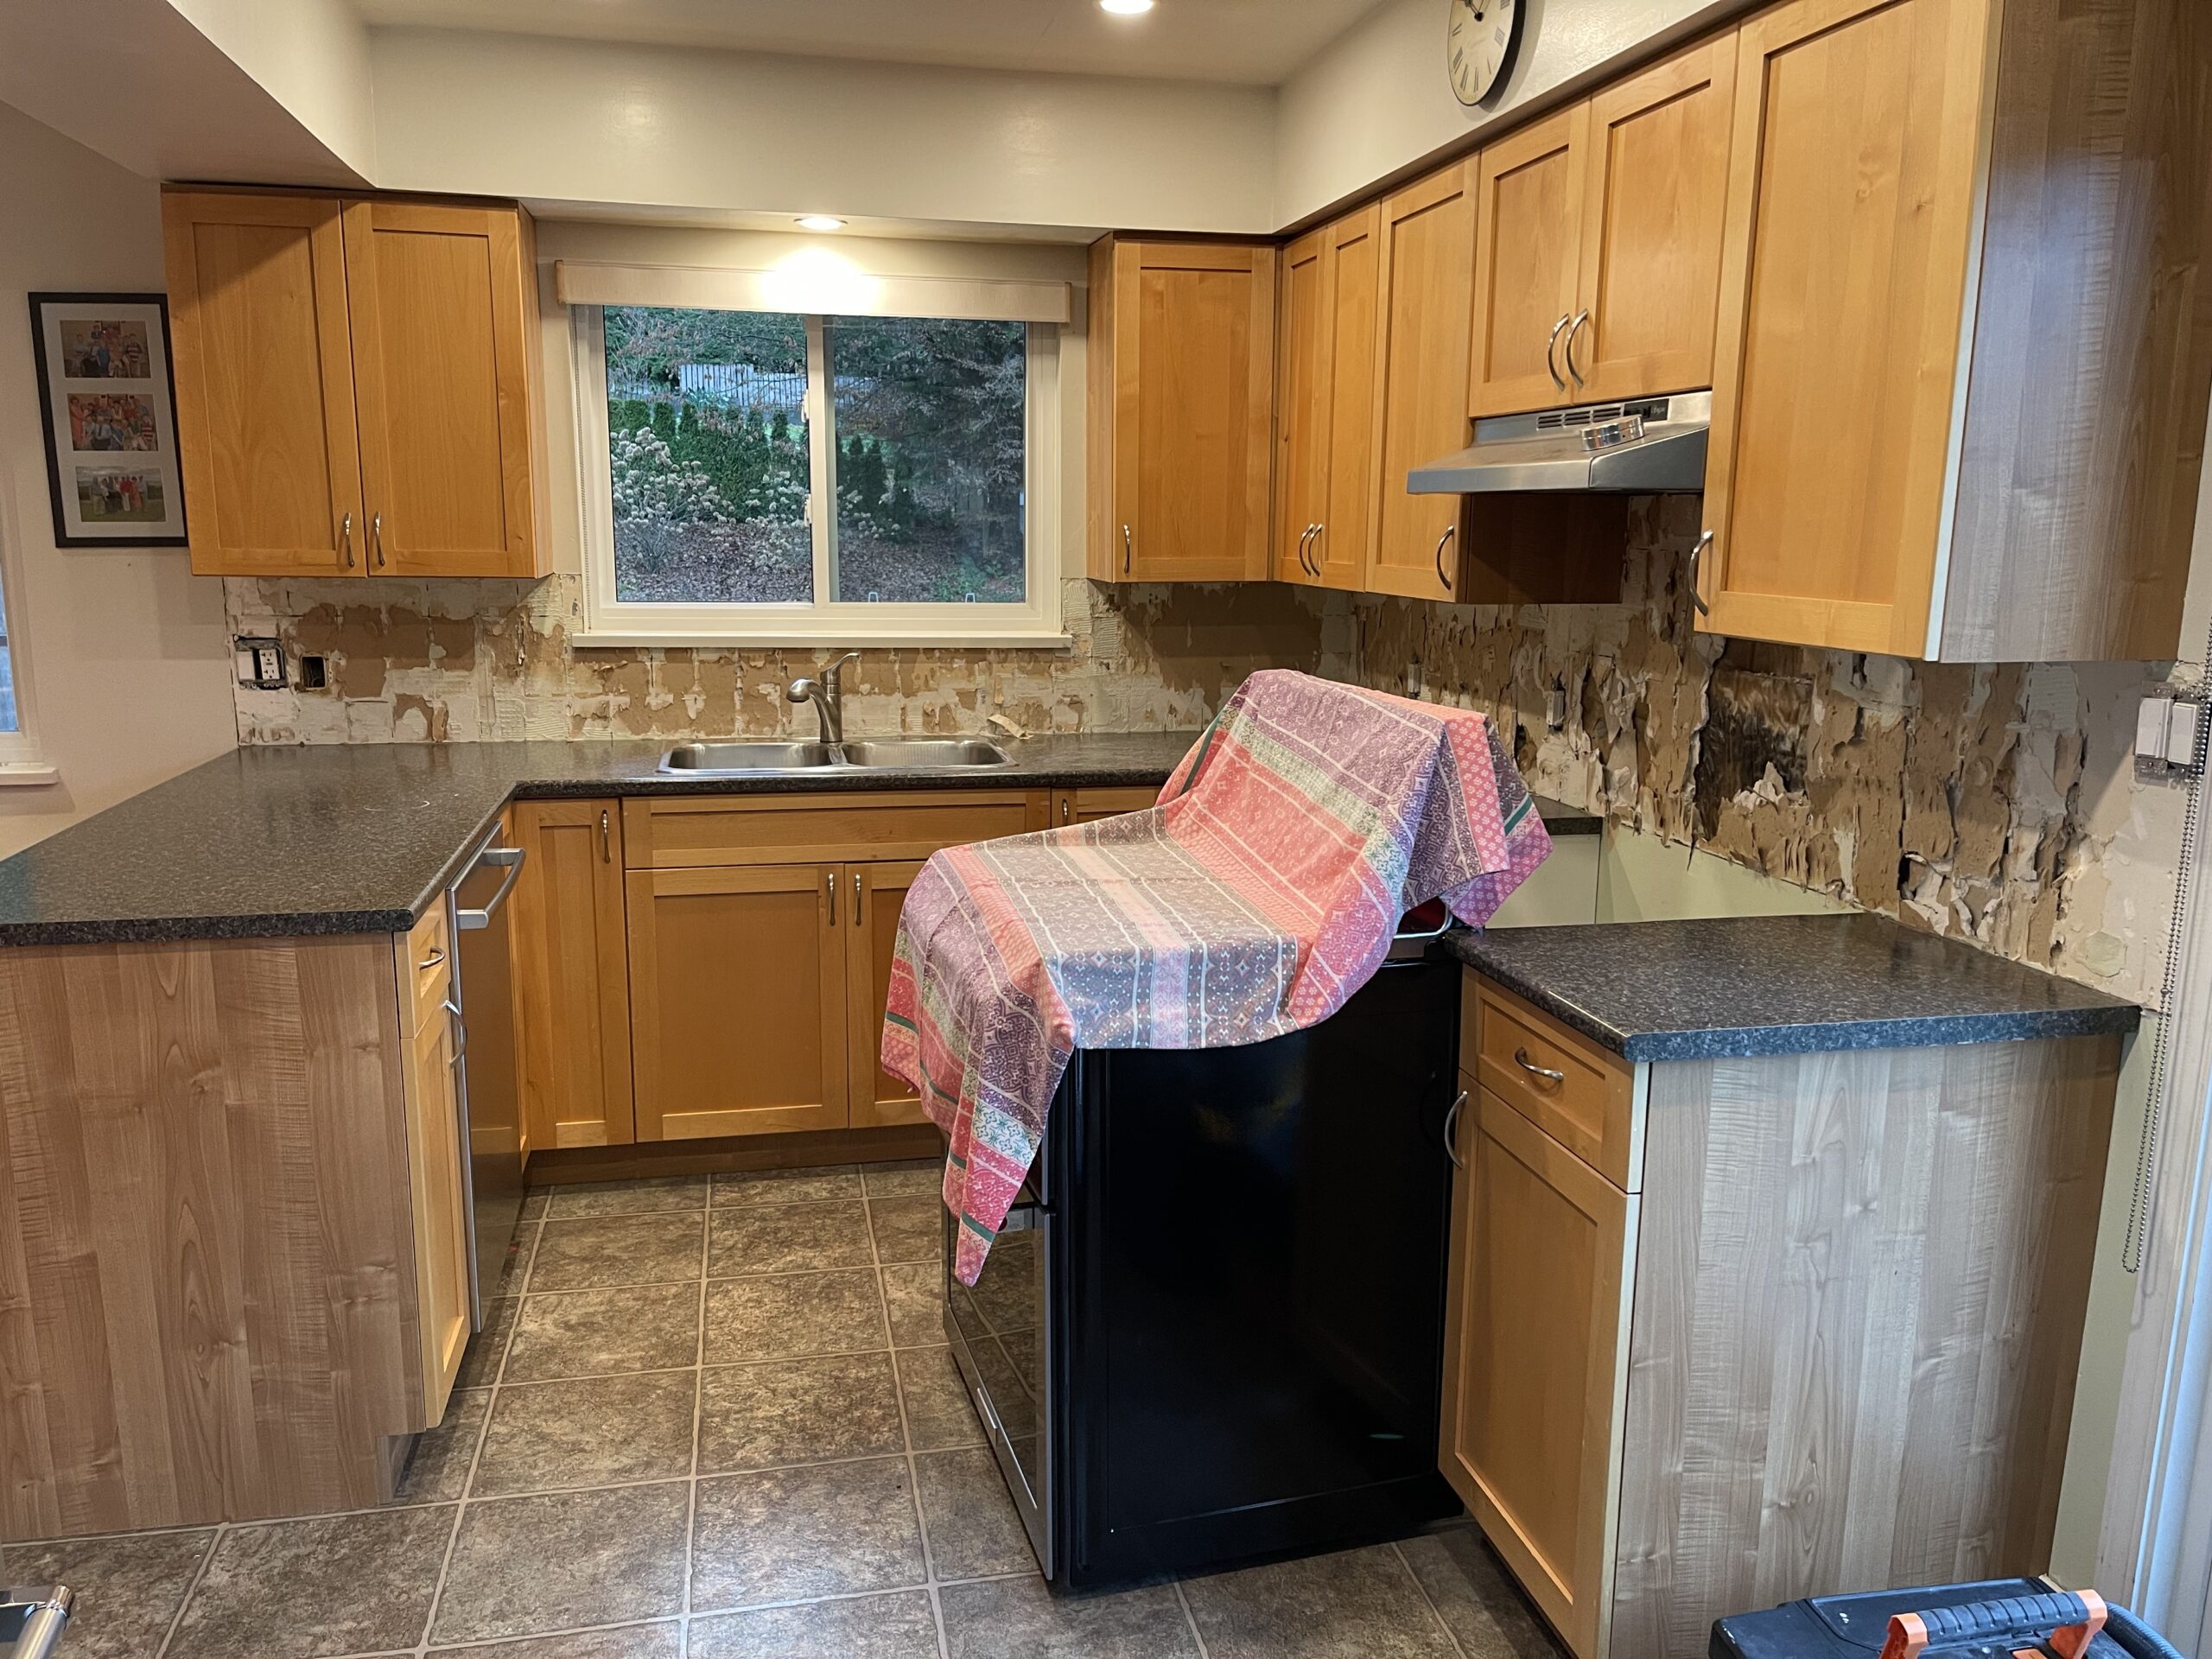
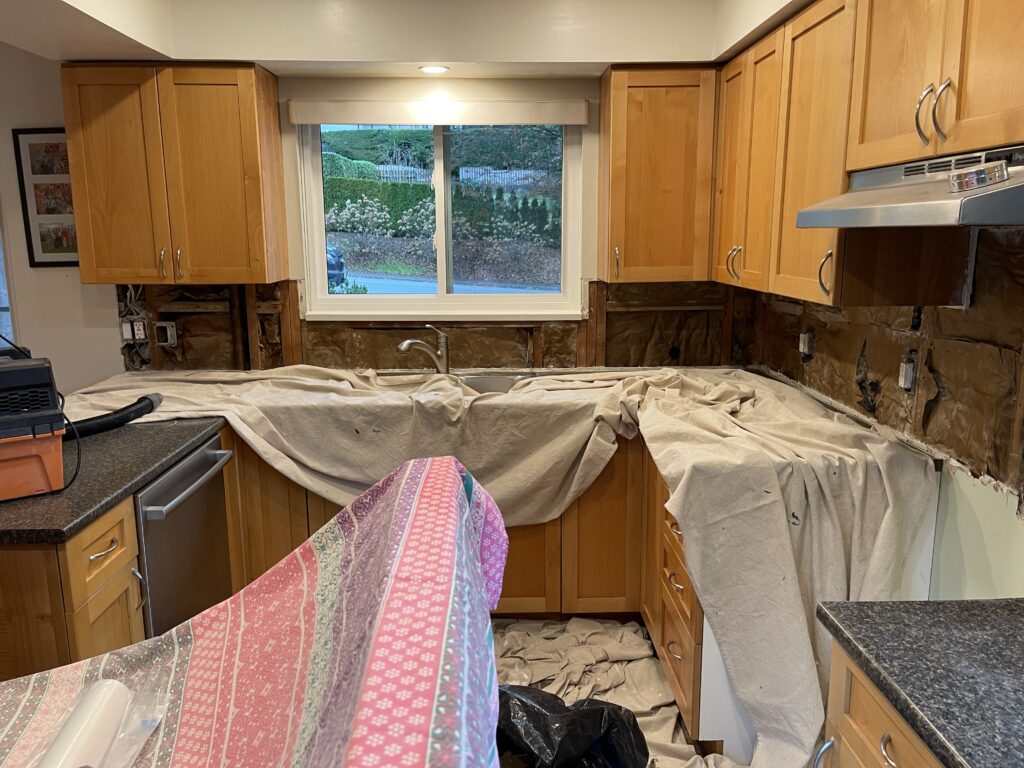
When you remove an old backsplash or prepare for new countertops, it is common to find damaged drywall behind the kitchen wall. This happens in many North Vancouver homes due to moisture, age, or previous renovation work. Repairing the drywall before your new countertop is measured is important because countertop templates need a clean and flat surface to get accurate readings.
This guide explains how to repair drywall behind a backsplash so your kitchen is ready for installation day. The steps are simple to follow, and they will help you understand what needs to be done whether you try it yourself or hire a professional.
Contents
- Tools Needed
- Materials Needed
- Safety First
- Step 1: Cut Out the Damaged Drywall
- Step 2: Repair the Vapor Barrier
- Step 3: Install the New Drywall
- Step 4: Tape and Apply Joint Compound
- Step 5: Sand the Surface Smooth
- Step 6: Prime the New Drywall
- Why North Vancouver Homeowners Choose Microworks Handyman
- Before Hiring Any Handyman, Make Sure They Have:
Tools Needed
-
- Utility knife
- Drywall saw
- Drill and drywall screws
- Putty knife
- Tape measure
- Dust brush or vacuum
Materials Needed
- Half inch drywall
- Drywall screws
- Vapor barrier tape
- Joint compound
- Drywall tape
- Primer
Safety First
Before you start, protect yourself with basic PPE (Personal Protective Equipment).
- Safety glasses
- Gloves
- Dust mask
Step 1: Cut Out the Damaged Drywall
Use your utility knife or drywall saw to carefully remove the damaged section. Create clean, straight edges so the new drywall patch fits properly. Always work slowly in case there are wires or pipes behind the wall.
Step 2: Repair the Vapor Barrier
If your kitchen wall exposes the vapor barrier, check it for any tears or gaps. Seal them with vapor barrier tape so moisture cannot get behind the wall. This is especially important in North Vancouver where humidity and moisture levels stay high for much of the year.
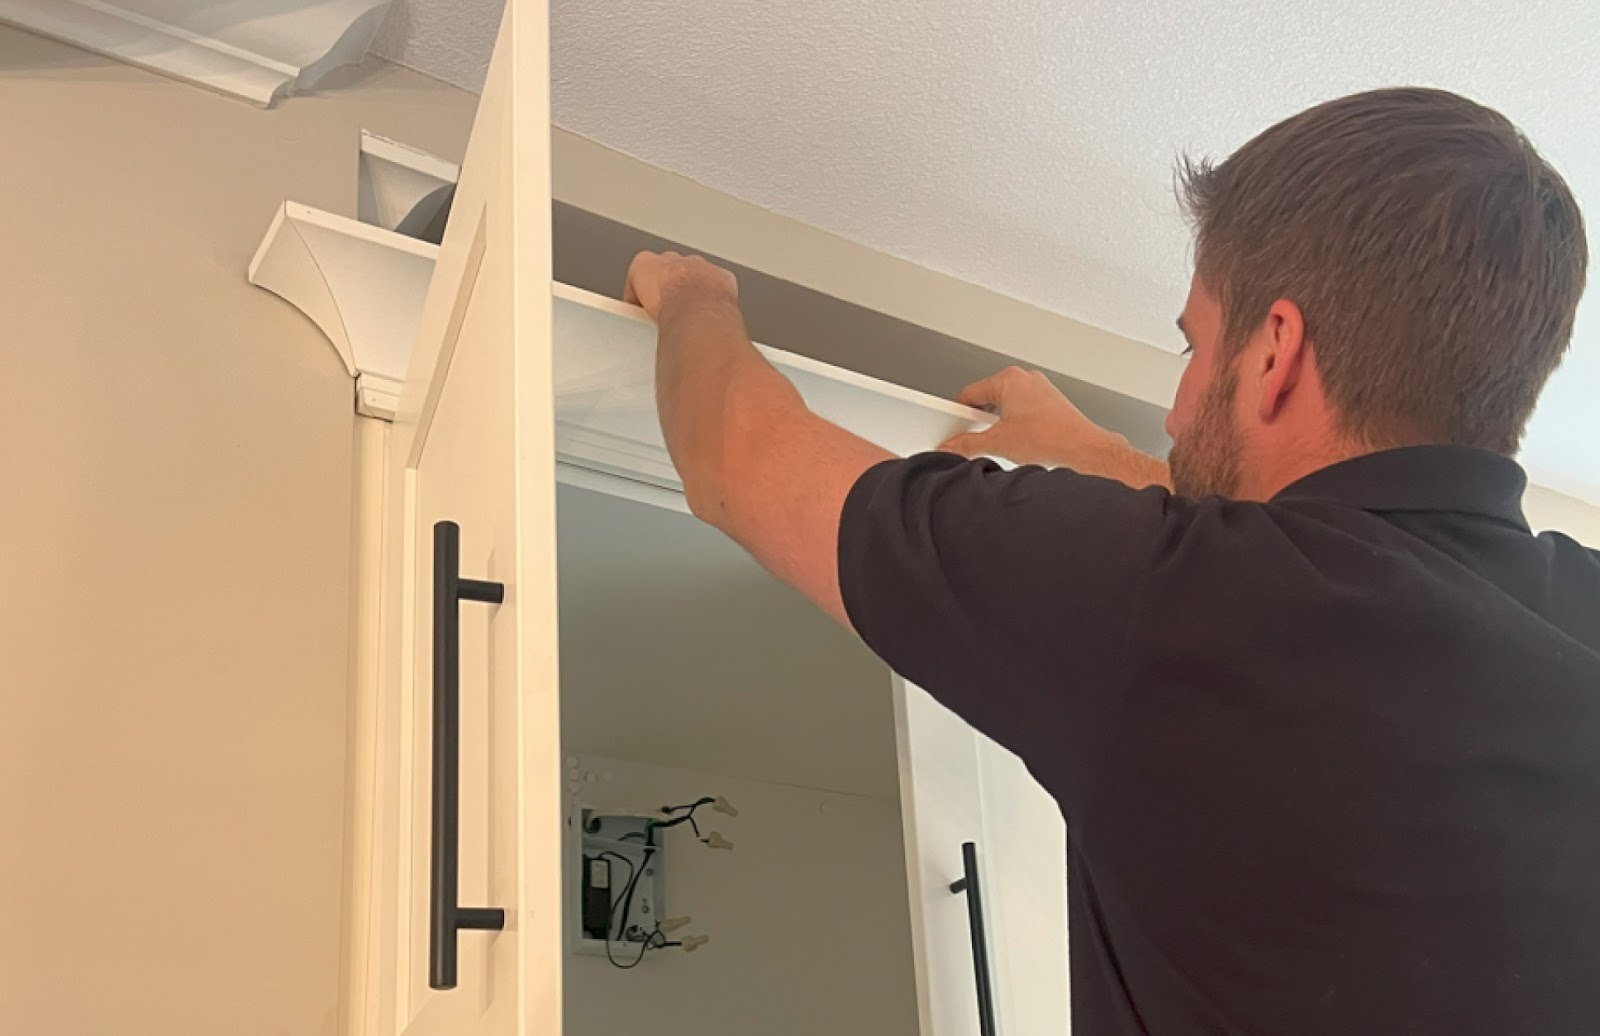
Step 3: Install the New Drywall
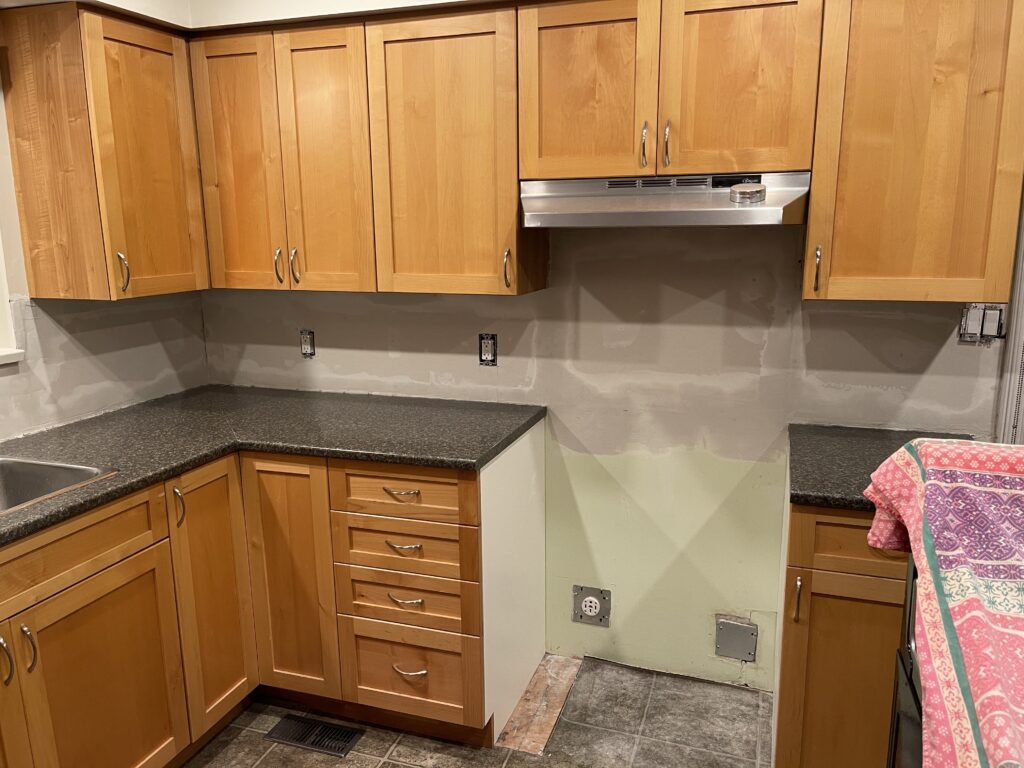
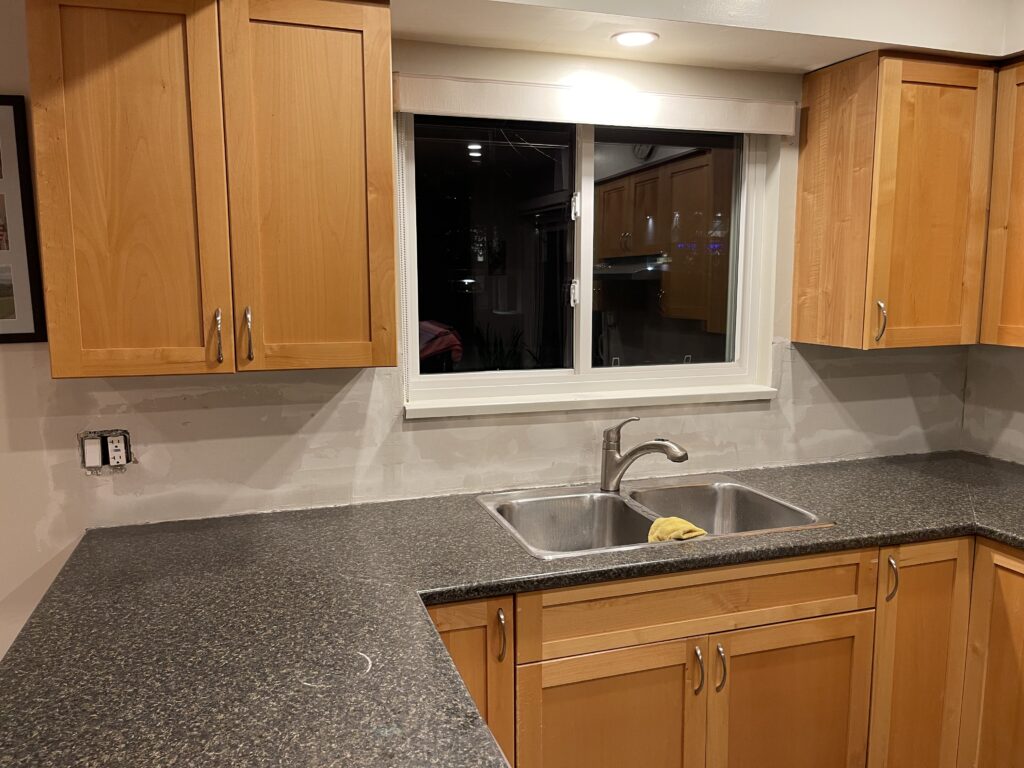
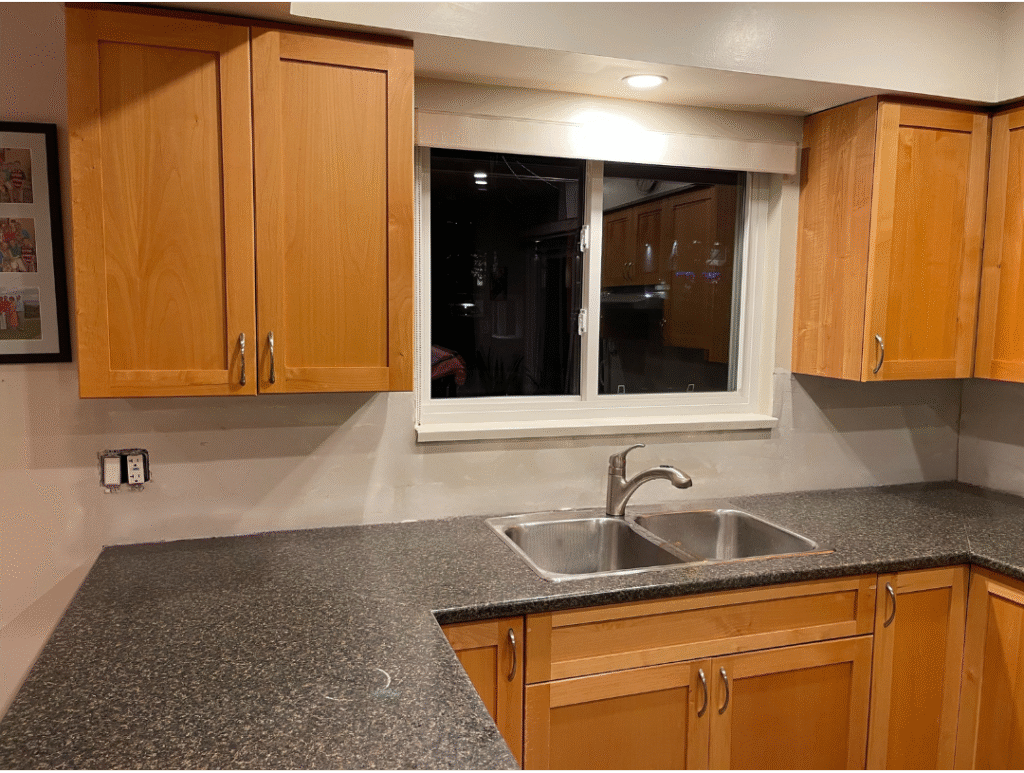
Cut a piece of half inch drywall that fits the opening. Secure it with drywall screws so it sits flush with the surrounding wall. This ensures your countertop team can take accurate measurements and get a proper fit for your new surface.

Step 4: Tape and Apply Joint Compound
Place drywall tape over the seams, then apply a thin coat of joint compound over the tape and screw holes. Once it dries, add a wider second coat. Apply a third finishing coat if needed to fully blend the surface.
Step 5: Sand the Surface Smooth
After the compound dries, sand the repaired area lightly until the surface is smooth and level. A clean and even finish helps the countertop installers get accurate measurements and makes the backsplash area ready for new tile or paint.
Step 6: Prime the New Drywall
Apply a good quality primer over the repaired surface. Primer seals the compound and prepares the area for paint or tile. It also prevents flashing and helps new materials adhere properly.
Why North Vancouver Homeowners Choose Microworks Handyman
Microworks Handyman provides clean, precise drywall repairs for North Vancouver kitchens. Our work ensures your wall is solid, sealed, and ready for countertop installation without delays or surprises. We handle the entire process carefully from removal to clean up so your kitchen is left tidy and ready for the next step.
If you prefer a professional to take care of your backsplash drywall repair, we are here to help.
Before Hiring Any Handyman, Make Sure They Have:
- WorksafeBC coverage
- Valid business license
- Liability insurance
- Warranty offered on work
Need Help Preparing Your Kitchen for Countertop Installation?
Contact Microworks Handyman to schedule your drywall repair in North Vancouver. We make the process simple, clean, and ready for your installation team.