Does your plumber leave behind holes in the wall after a plumbing repair? It’s more common than you think. Whether it’s fixing a leaky pipe or replacing old water lines, plumbers often need to cut into drywall to access the problem. Once the plumbing job is complete, you’re left with the drywall to repair, and that’s where Microworks Handyman comes in.
If you live in Vancouver, North Vancouver, West Vancouver, or Burnaby, this guide will walk you through what’s involved in a drywall repair, whether you plan to do it yourself or hire a professional handyman.
Here’s a simple 5-step guide to repairing drywall after plumbing work, plus why hiring a professional handyman can save you time and hassle.
Contents
What You’ll Need
- Drywall patch or new drywall piece
- Drywall saw or utility knife
- Joint compound (mud)
- Drywall tape (mesh or paper)
- Putty knife
- Sanding sponge or sandpaper
-
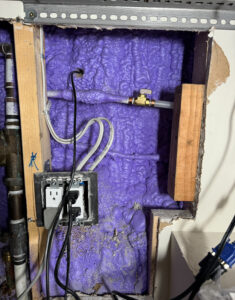
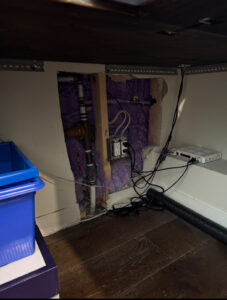
Step 1: Inspect the Damaged Area
Look closely at the holes or cutouts left behind. Small access holes are straightforward, while larger openings may require replacing entire sections. Also, check for water damage such as stains, bubbling, or soft spots. Moisture problems need to be fixed first to avoid mold growth.
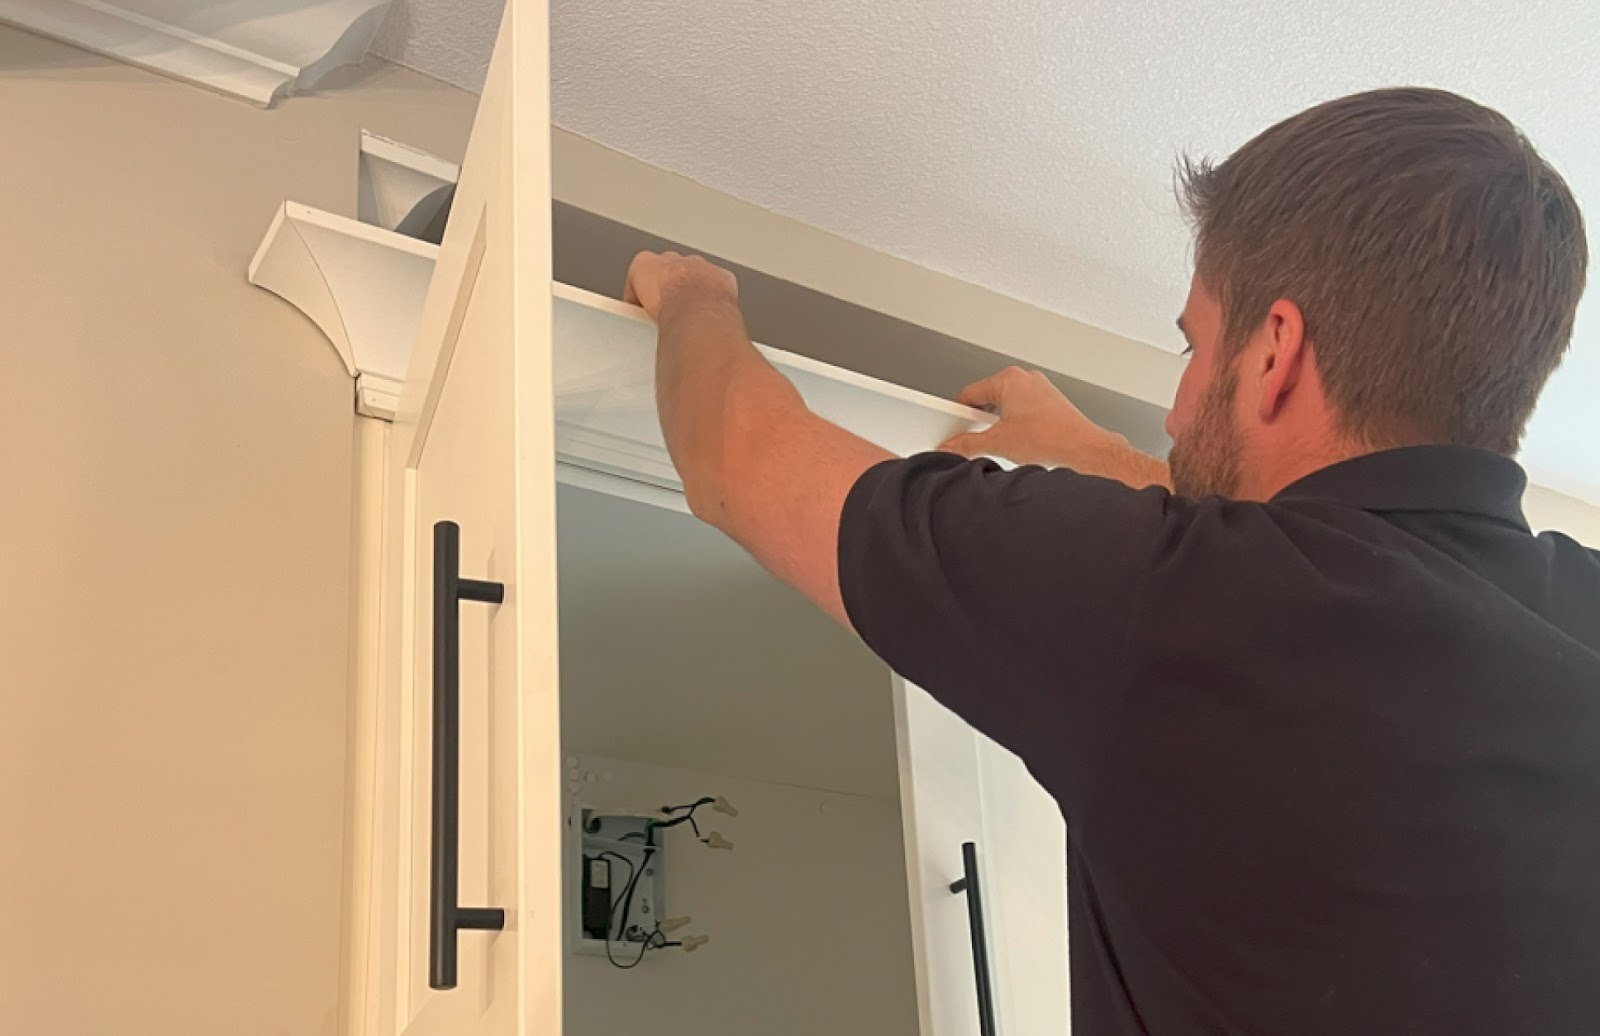
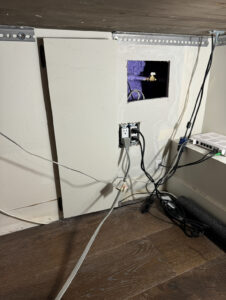
Step 2: Prepare Surface and Measure Out Access Panels
Clean up rough edges and square off the hole with a utility knife. This helps create a clean area for the patch.
At this stage, measure and mark where your access panels will go. Access panels allow for easier plumbing access in the future, reducing the need for repeated drywall cutting.
Always wear PPE such as a dust mask, safety goggles, and gloves when cutting or sanding drywall.
Step 3: Install Drywall Except for Access Panel Holes
-
For small holes, use spackle or a drywall patch kit.
For medium-sized holes, cut and secure a new piece of drywall, then tape the seams.Leave out the sections where the access panels will be installed. These areas will be addressed later to ensure proper alignment and functionality.
For large or complex holes, it’s often best to call a professional.
At Microworks Handyman, we handle drywall repair services of all sizes, ensuring that the patched area blends perfectly with your walls.
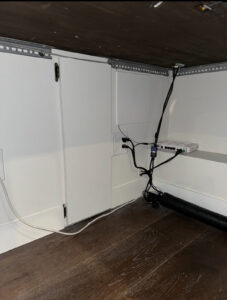
Step 4: Apply Joint Compound and Sand
Spread joint compound smoothly over seams and screws, then let it dry. Sand lightly between coats until the wall is flush. Proper sanding is key to achieving a seamless look, especially in visible areas of your home.
Step 5: Prime and Paint
-
Apply primer to the repaired section before painting. This prevents the patch from showing through. Then repaint the wall with a matching color.
Need a Professional Handyman?
At Microworks, we focus on small jobs done right. Whether you’re in Vancouver, North Vancouver, West Vancouver, or Burnaby, our team is fully licensed, insured, covered by WorkSafeBC, and we back our work with a warranty.
Get in touch today through our contact page, or give us a call at 604-836-4178 to schedule your project
Want more DIY tips? Check out our recent post: How to Reseal a Bathtub the Right Way.
Got questions? Drop them in the comments or send us a message. We’re always happy to help you get the job done right.